Years ago, I read an interview with Paul Stanley of KISS in a guitar magazine. When asked about his guitar setup, he answered with something like, “If you can’t get the tone you want out of your amp, you’re doing something wrong.”
I took that to heart, and have striven to keep my guitar rig as simple as possible. If I needed to tune, I’d put my amp on standby, unplug the guitar from the amp, plug into the tuner, tune, plug the guitar back into the amp and turn it back on. Cumbersome? Yes. But my signal was pure, nothing to hold it back. No pedal to get kicked or stepped on accidentally. Less crap to haul around.
However my latest band, Wormrider is not so simple. I’ve found myself needing and wanting effects to change my tone at times, or to make noises. As I came to grips with the fact I’ll be using some effects pedals in this band, I began to think about how I could make the set-up more simple. A daisy-chain power source was one way. A pedalboard was another.
I did a lot of research on pedalboards. They were almost all more money than I was willing to spend, or the inexpensive ones didn’t have the features I wanted. Many were way too large. I remembered a post on Lifehacker about a pedalboard made from an Ikea shelf. So I did some more research and decided to build one. I liked the slatted base, that I could set the incline I want, and the inexpensive price.
I took stock of the pedals I currently use and the few that I want and decided the Gorm shelf that was roughly 19.5″ x 12″ would be perfect. When I got to Ikea, they only had the 19.5″ x 20″ one. No bother, I was going to cut the smaller one down anyway. It would give me enough wood to make another one if I wanted. I also purchased a pack of height extension posts
At the hardware store, I purchased some matte black spray-paint, industrial strength Velcro tape, and some non-slip rubber feet.
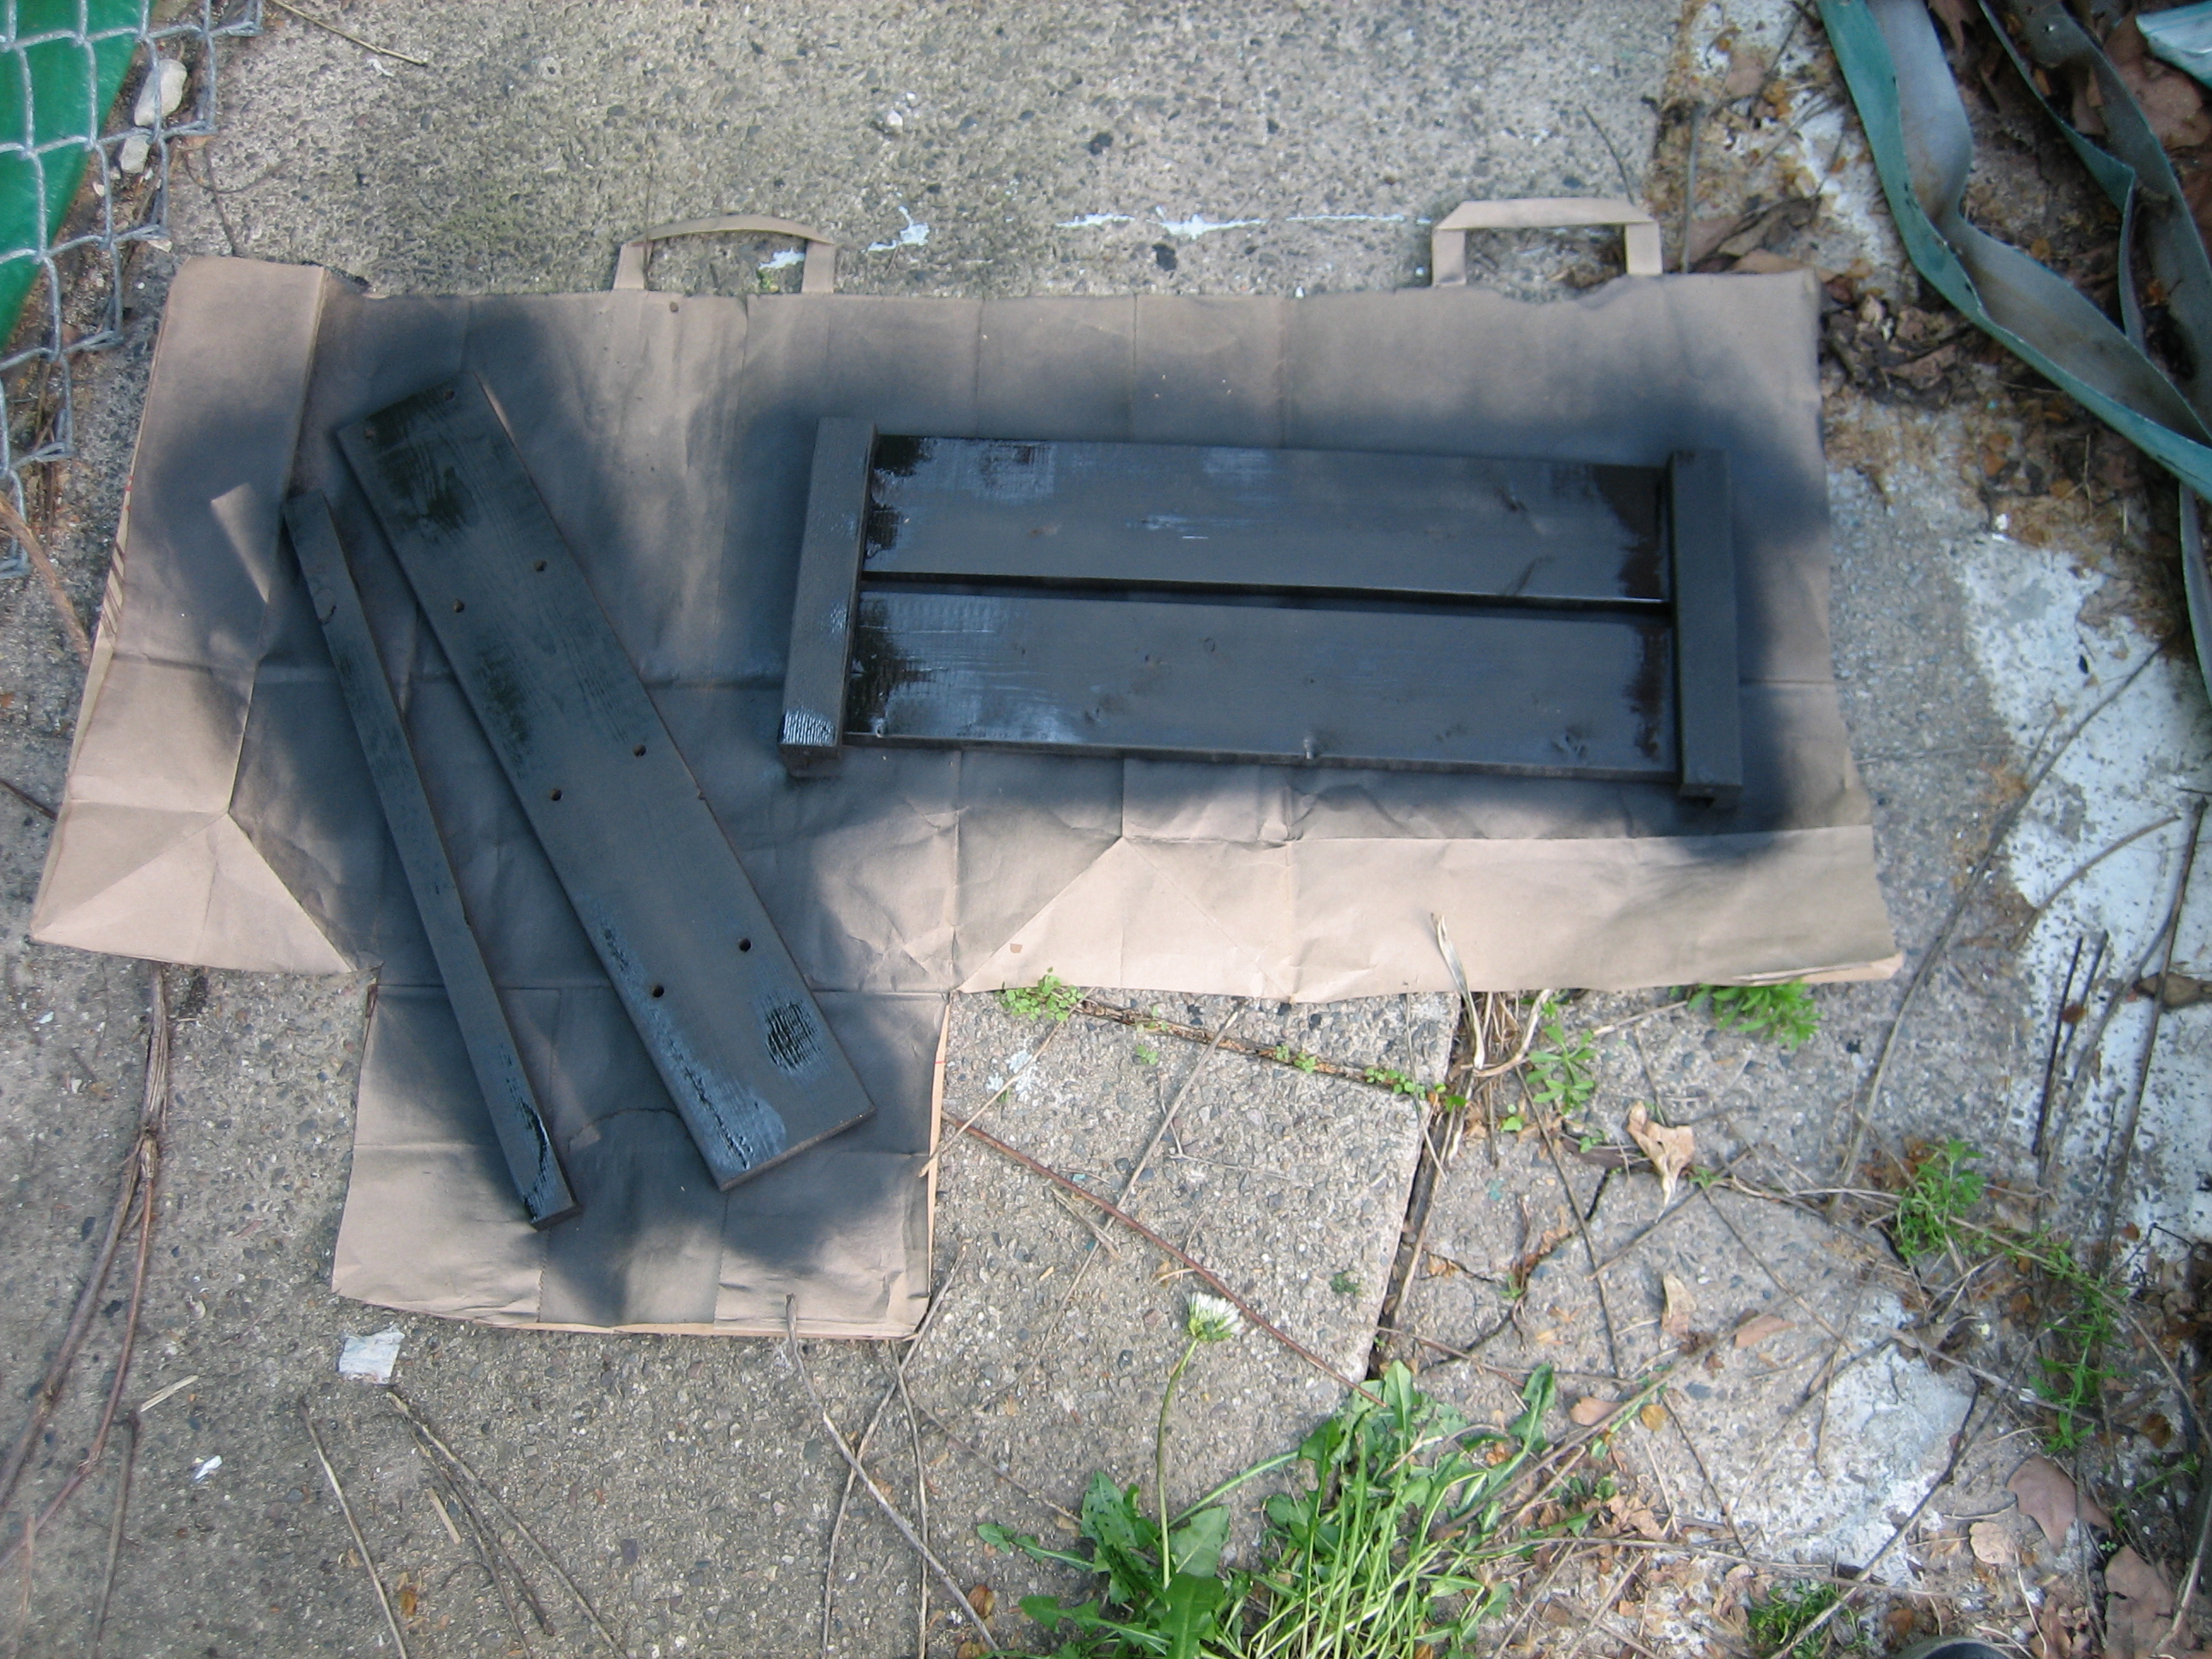
I cut three slats off, measured and cut the extension posts, and found a piece of scrap wood in my basement for the front trim.

Next I sanded everything, especially the cuts I made, so there would be no rough edges. Then I broke out the spray-paint, giving each piece two good coats.
Once the paint dried, I assembled the pedalboard and attached the rubber feet. Getting it to sit level required a little troubleshooting. Turns out the shelf wasn’t perfectly flat, so I had to widen the holes on the extension post to wiggle it around a little bit.
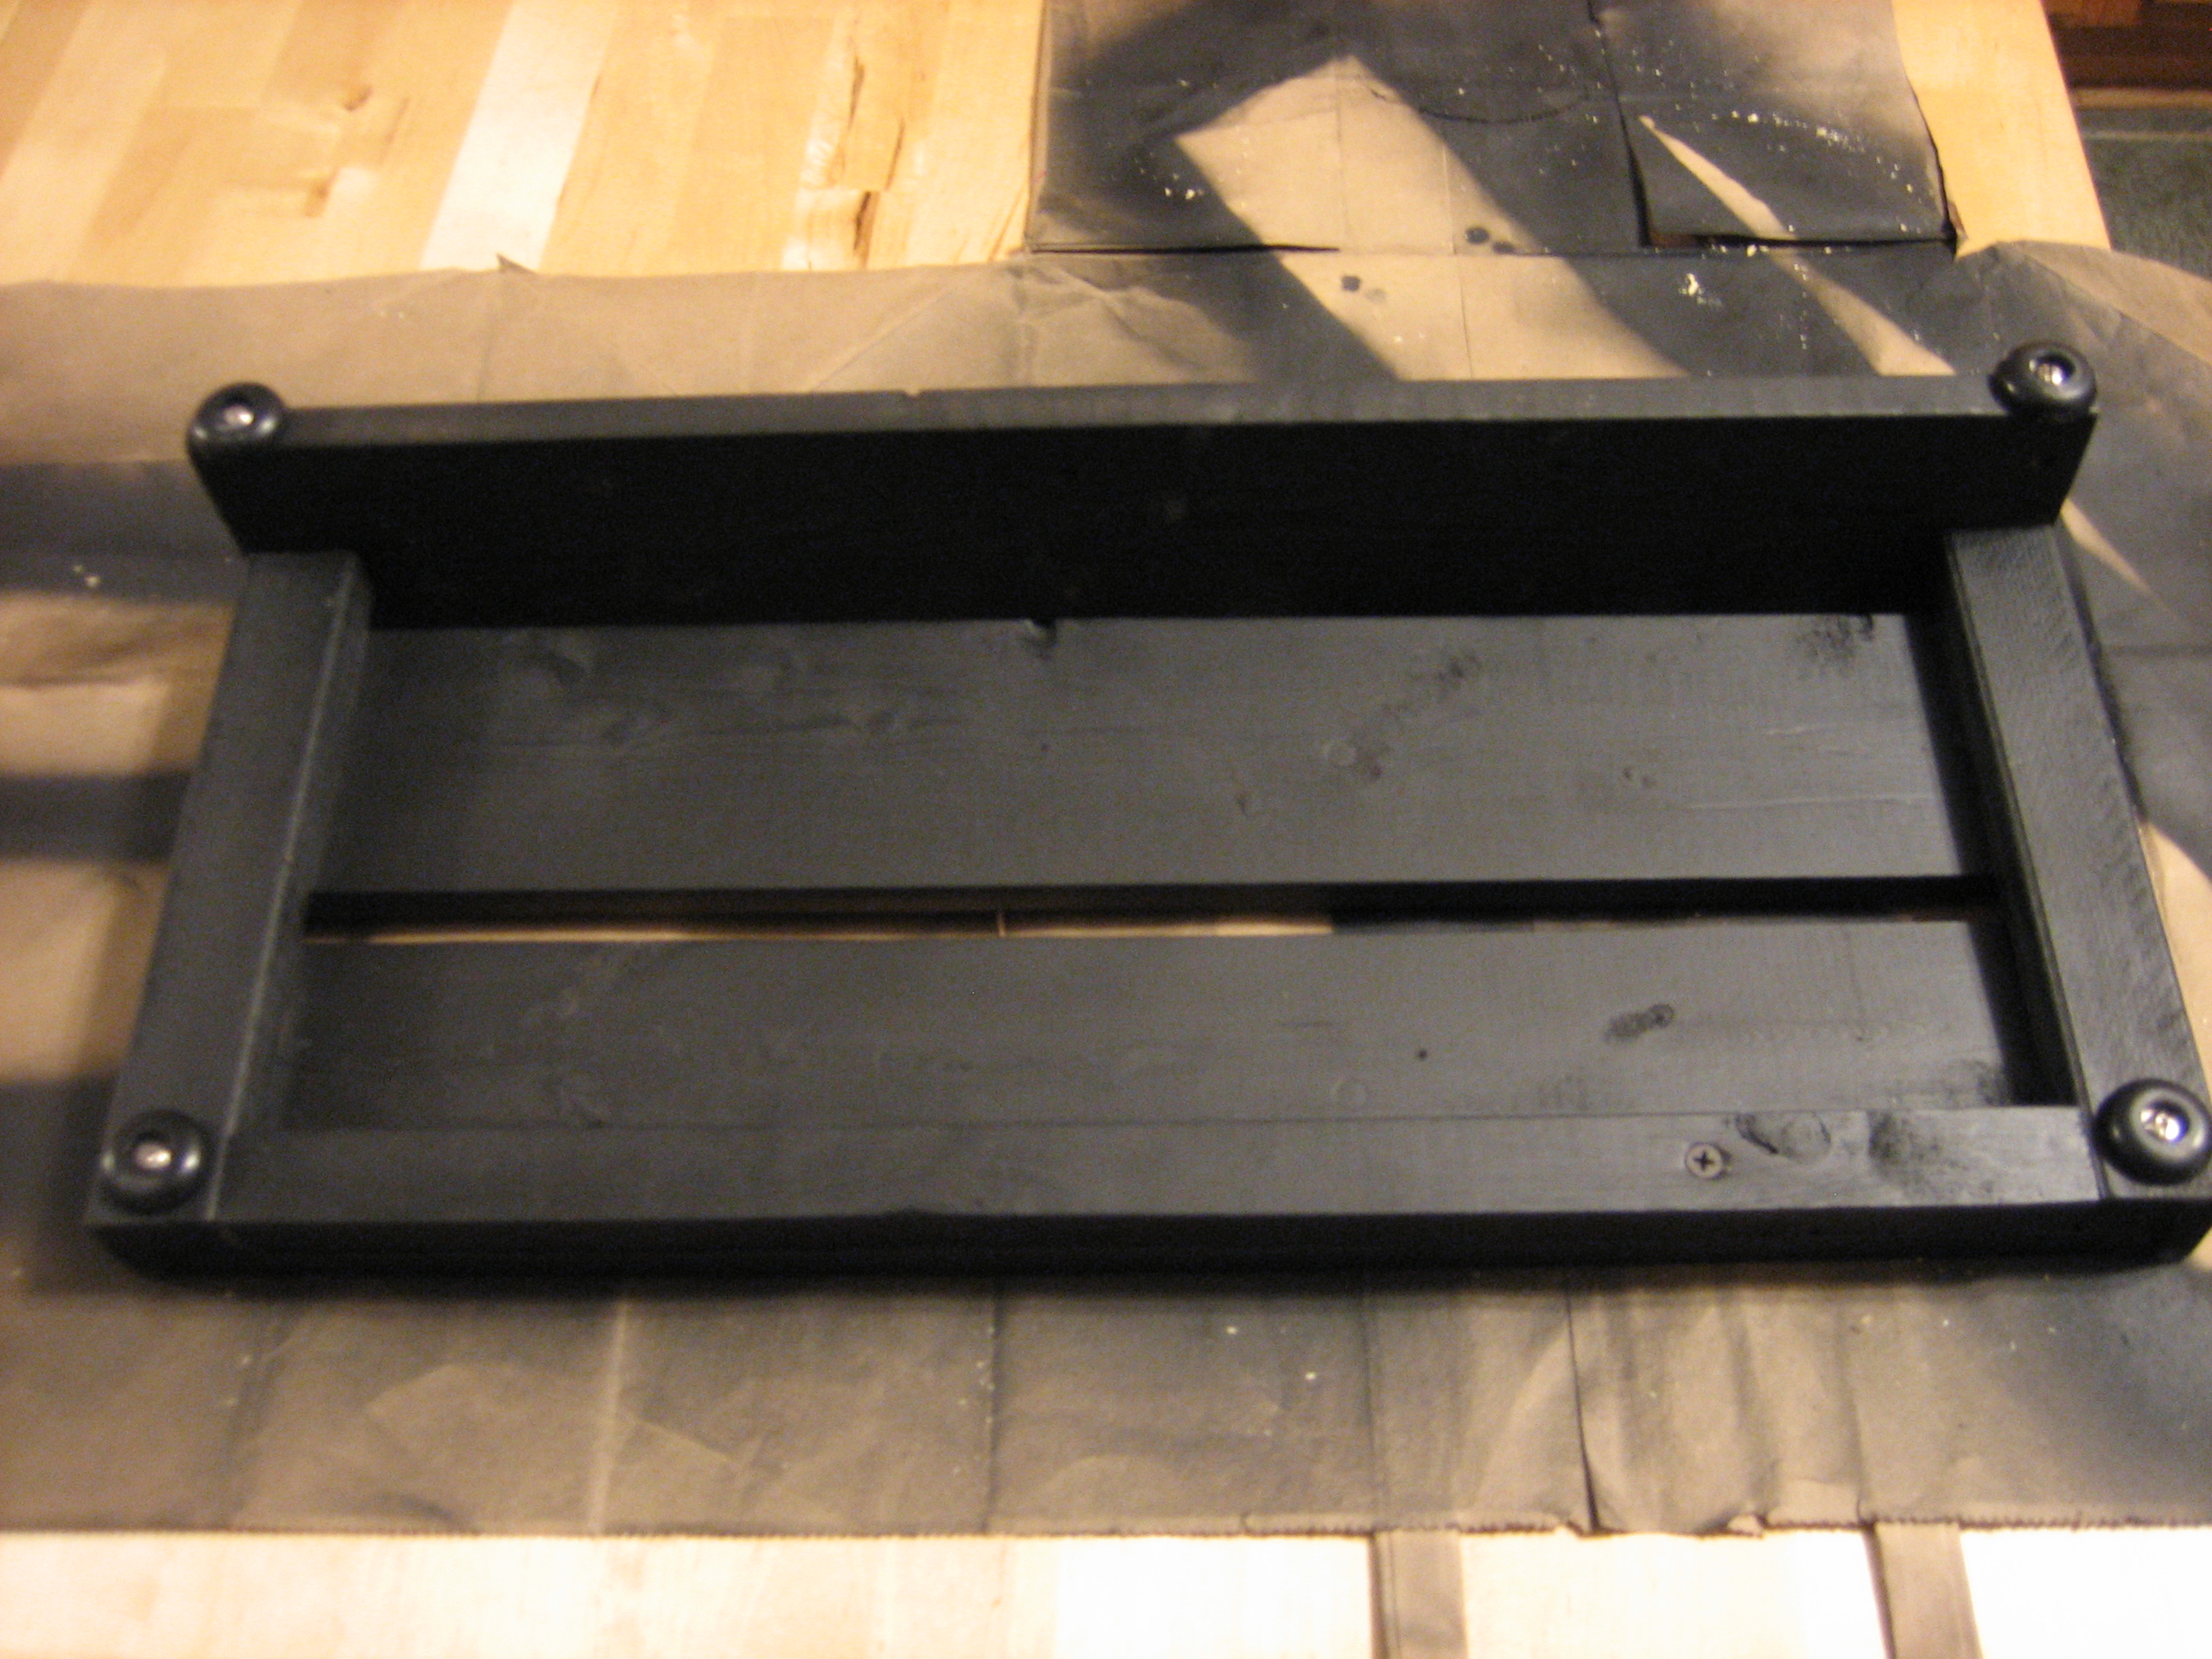
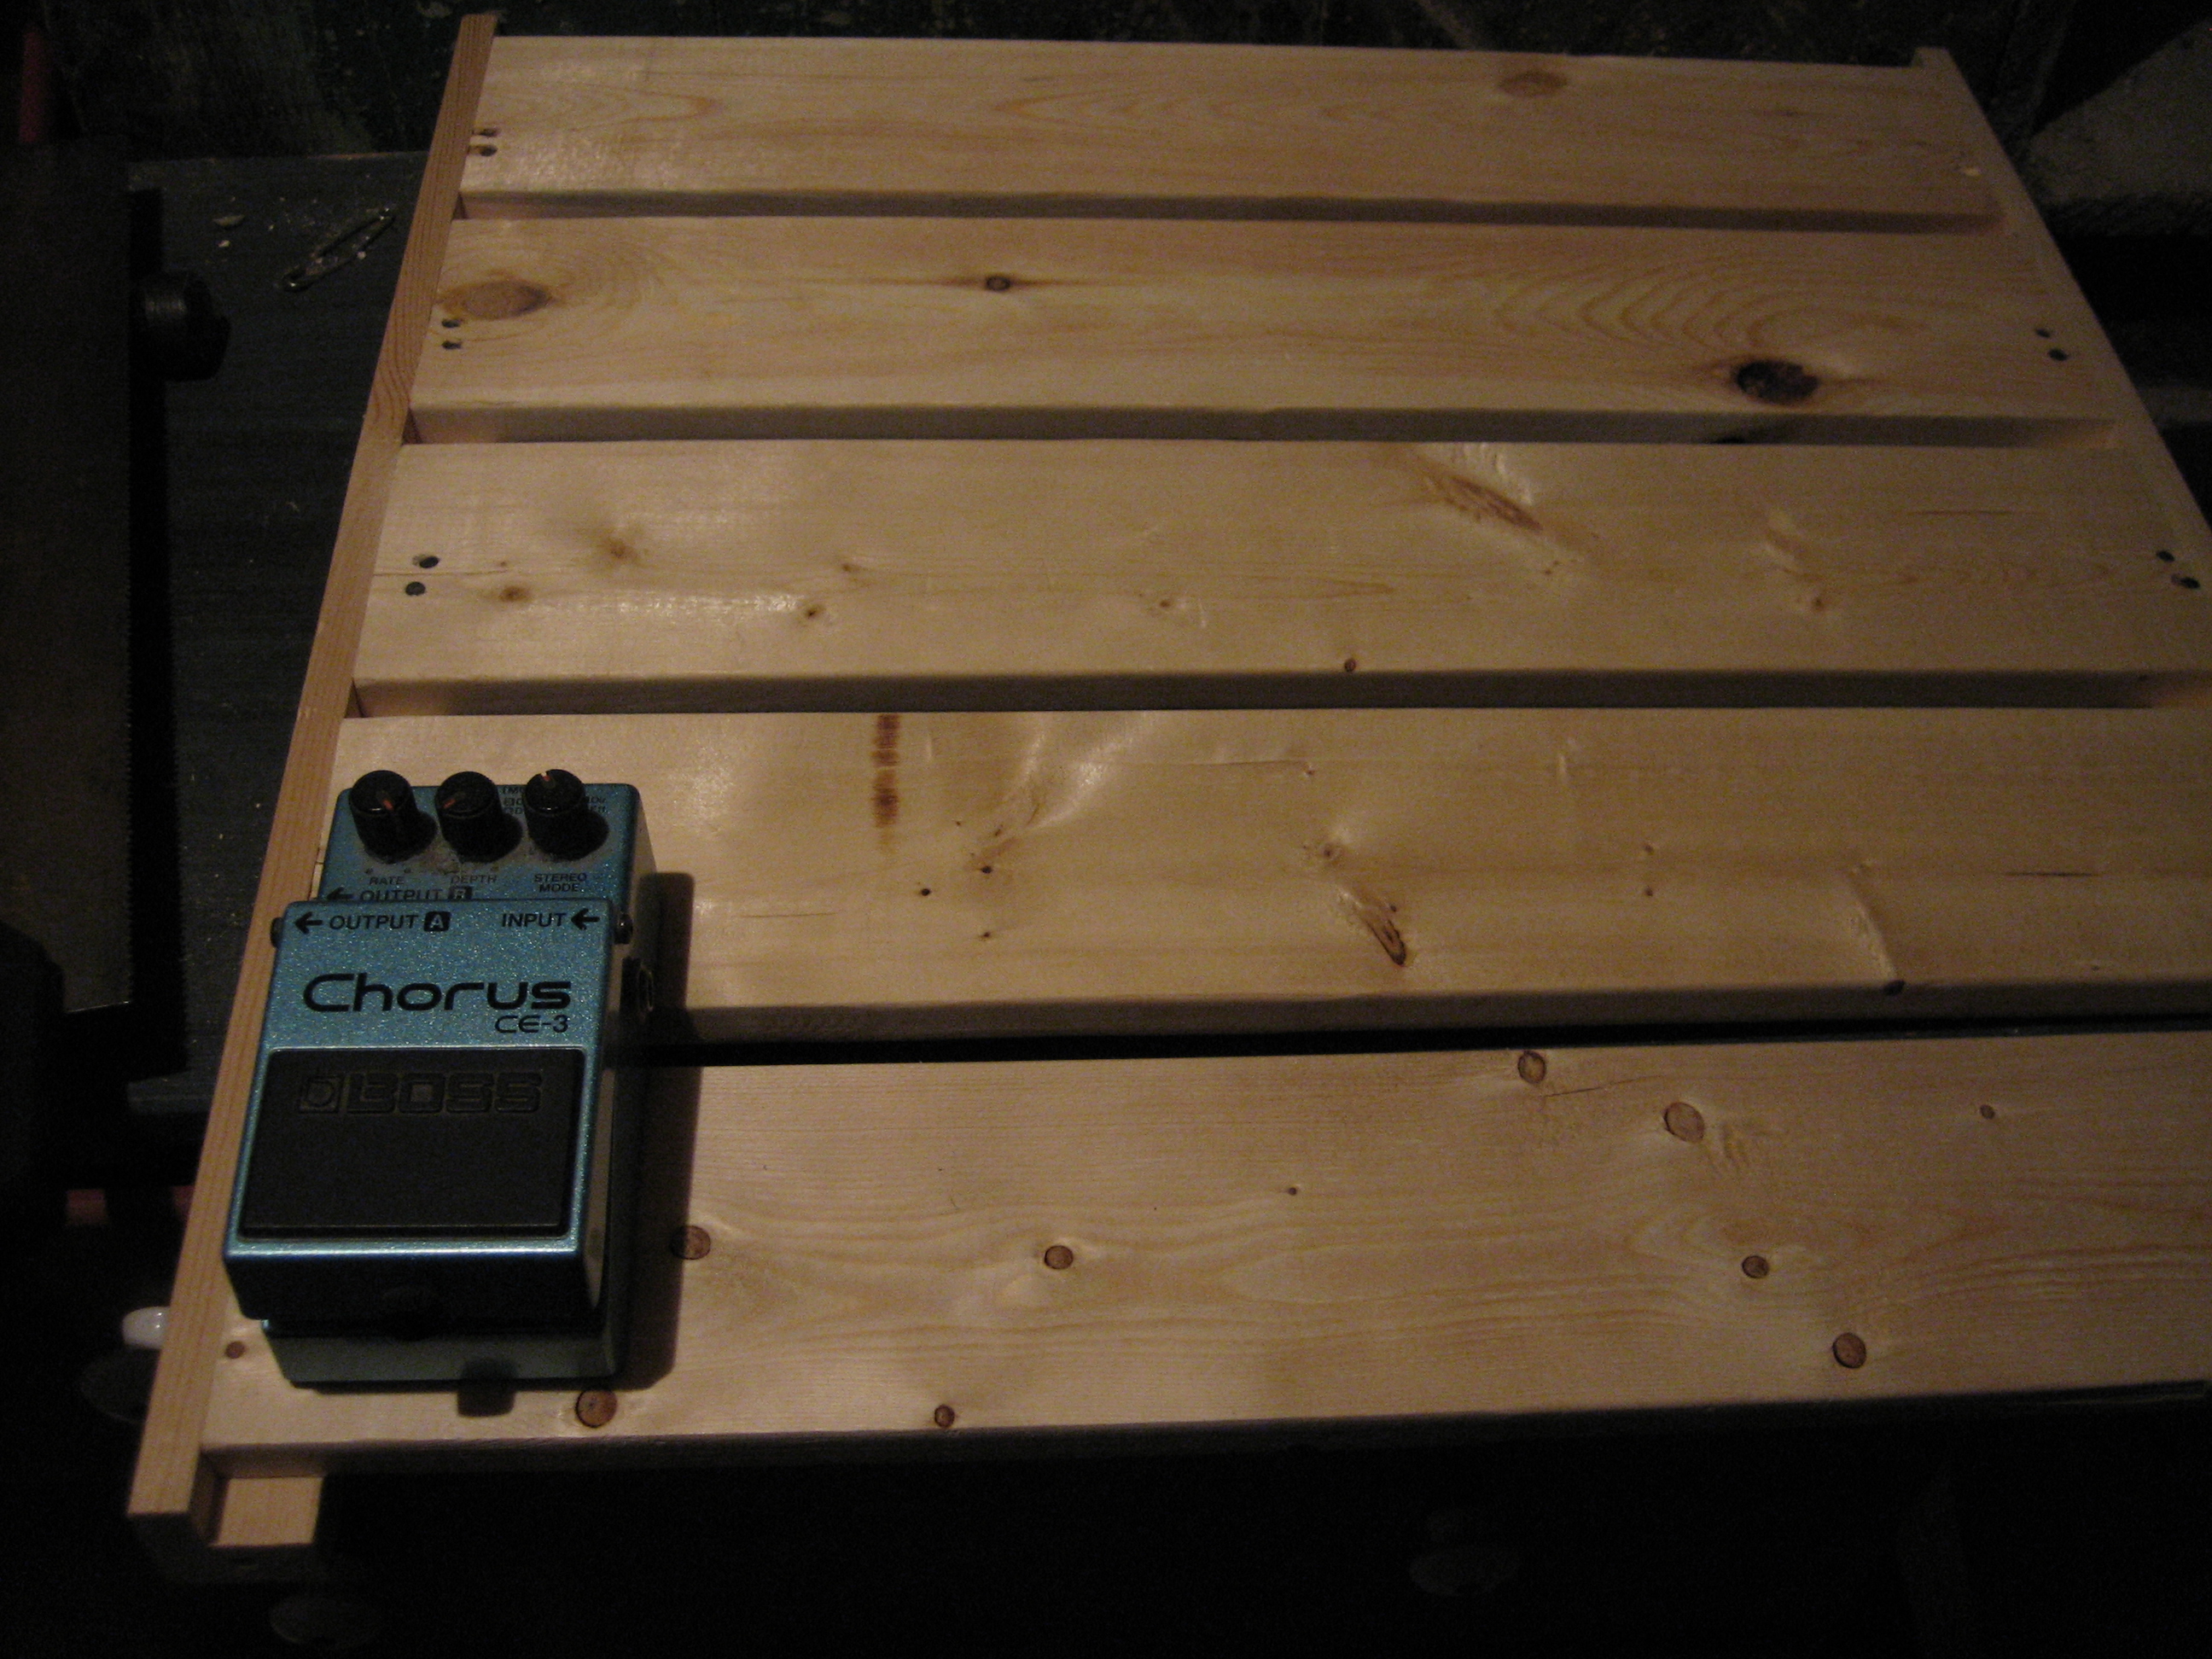
Here it is right-side up.

After measuring and cutting the loop side of the Velcro tape (the hook side goes on the bottom of each pedal) using a t-square and exacto knife, I stuck it on and the pedalboard was complete!
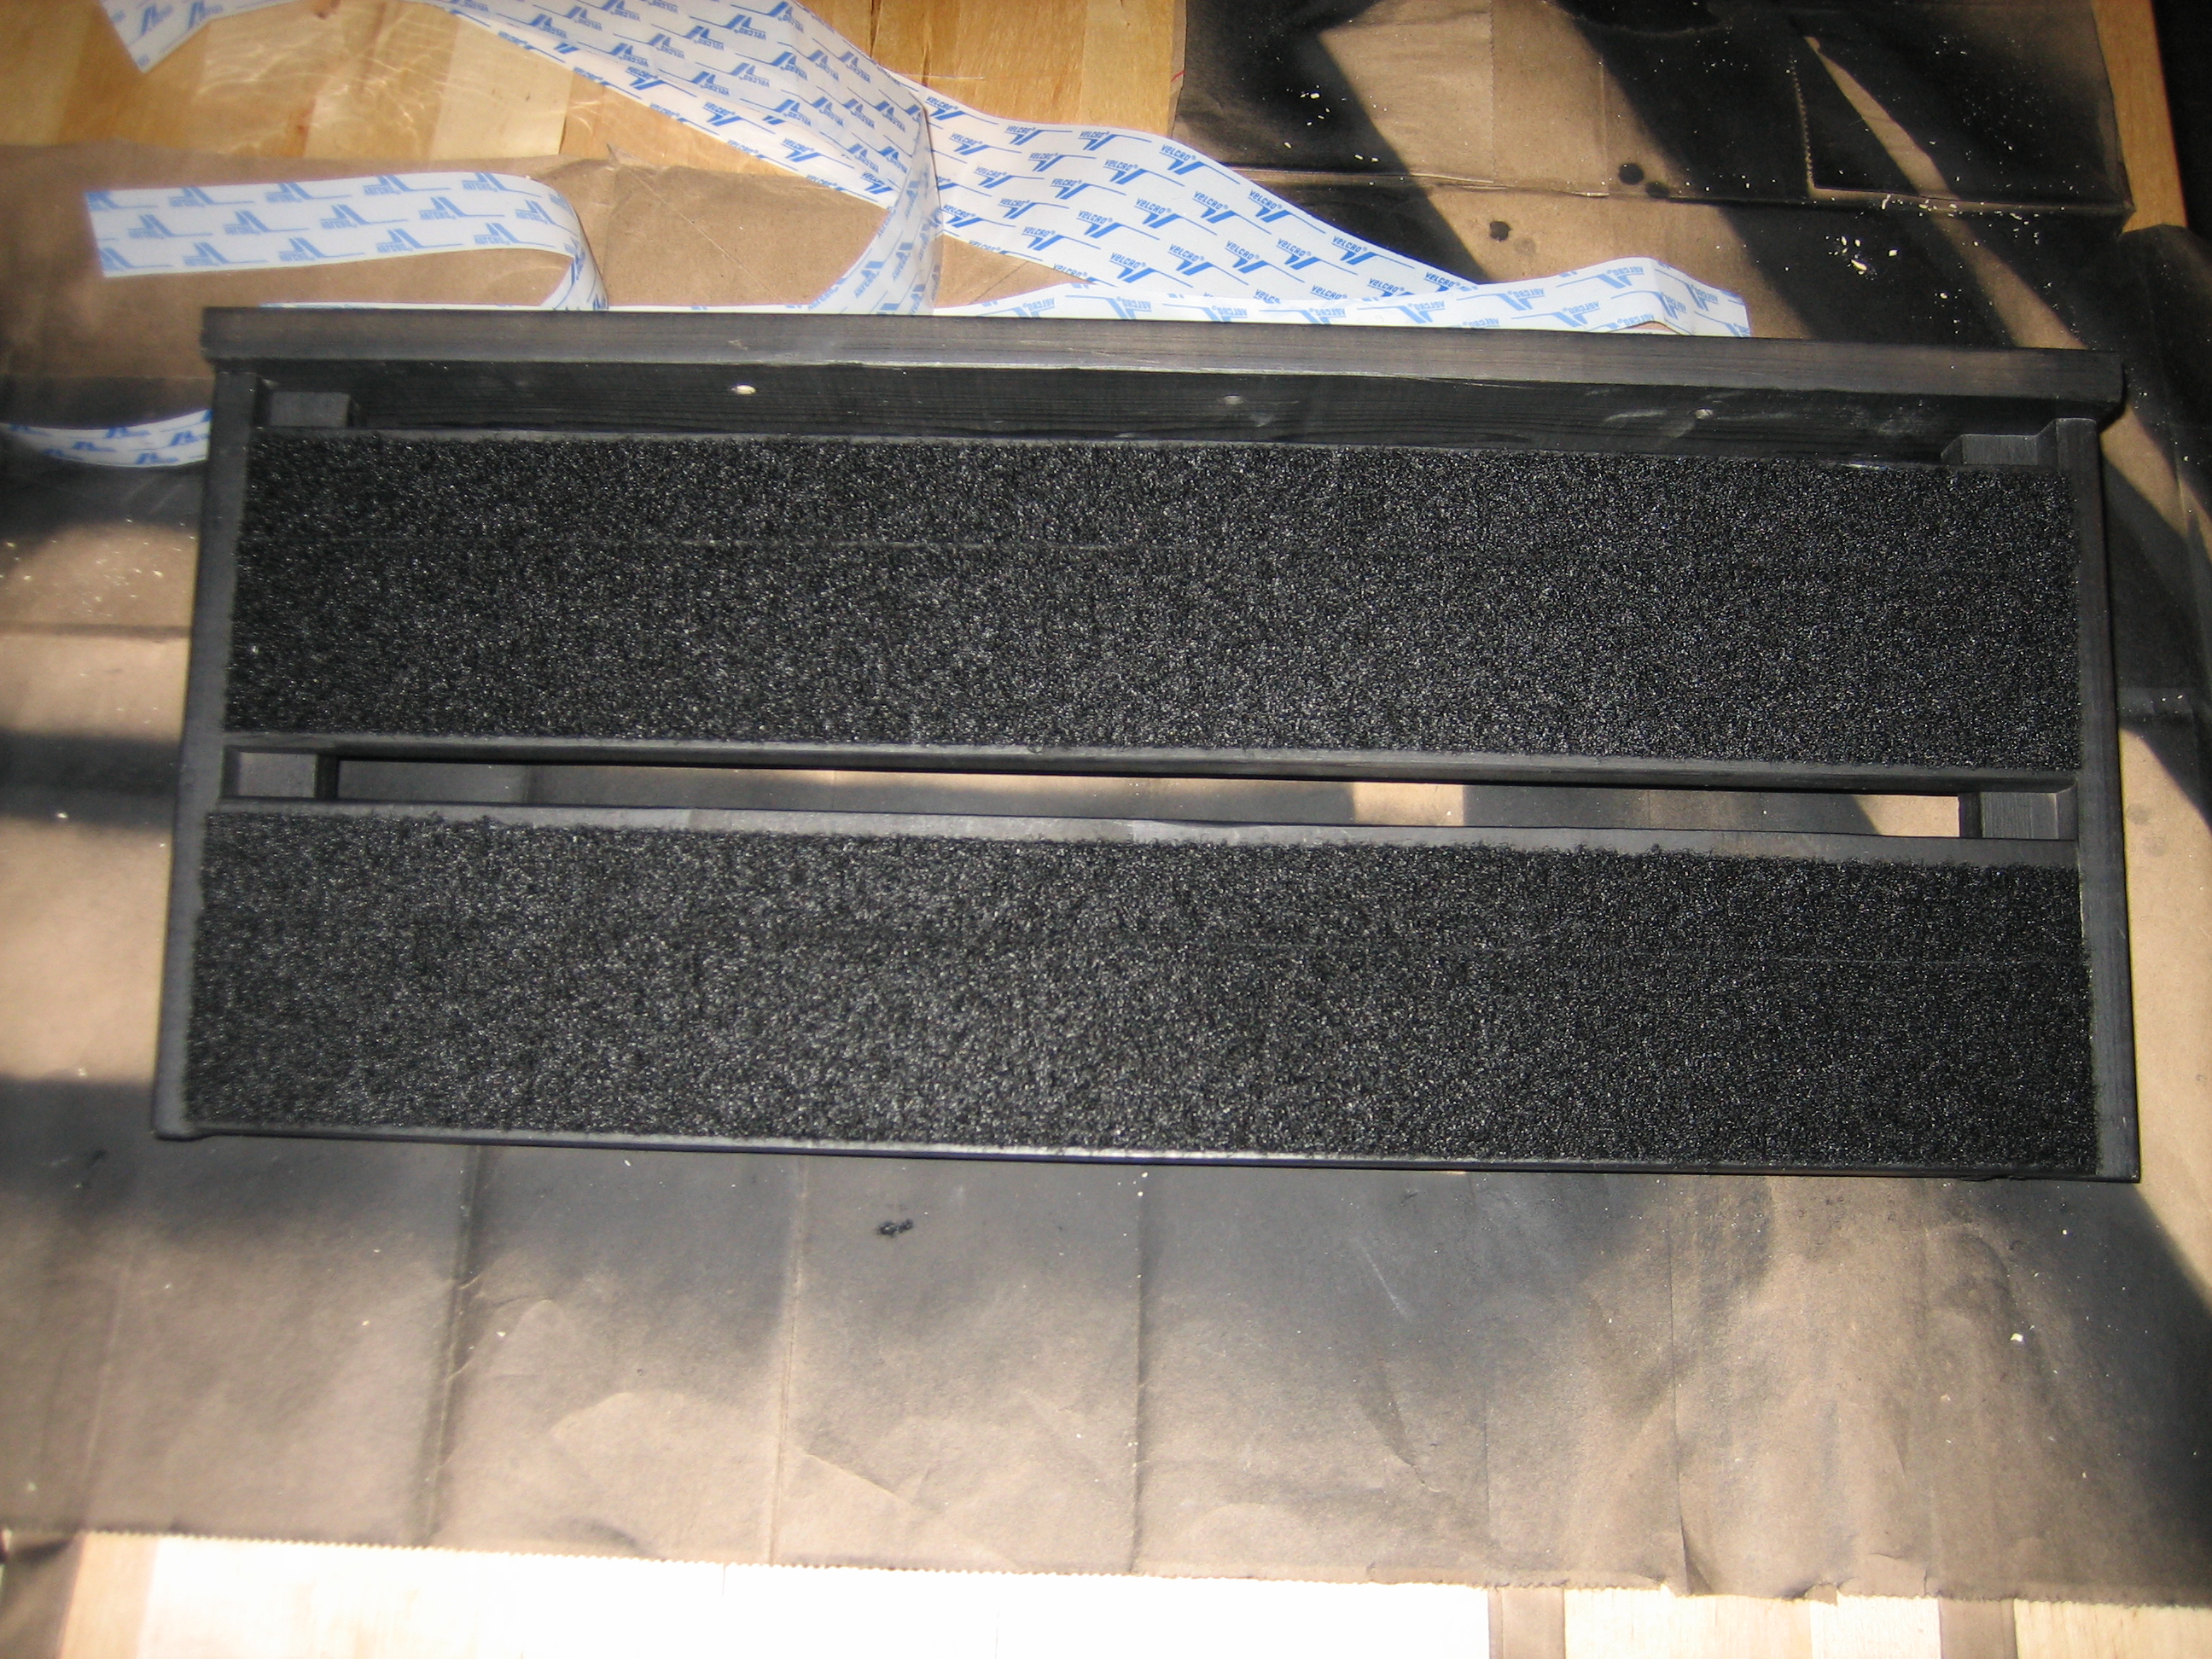
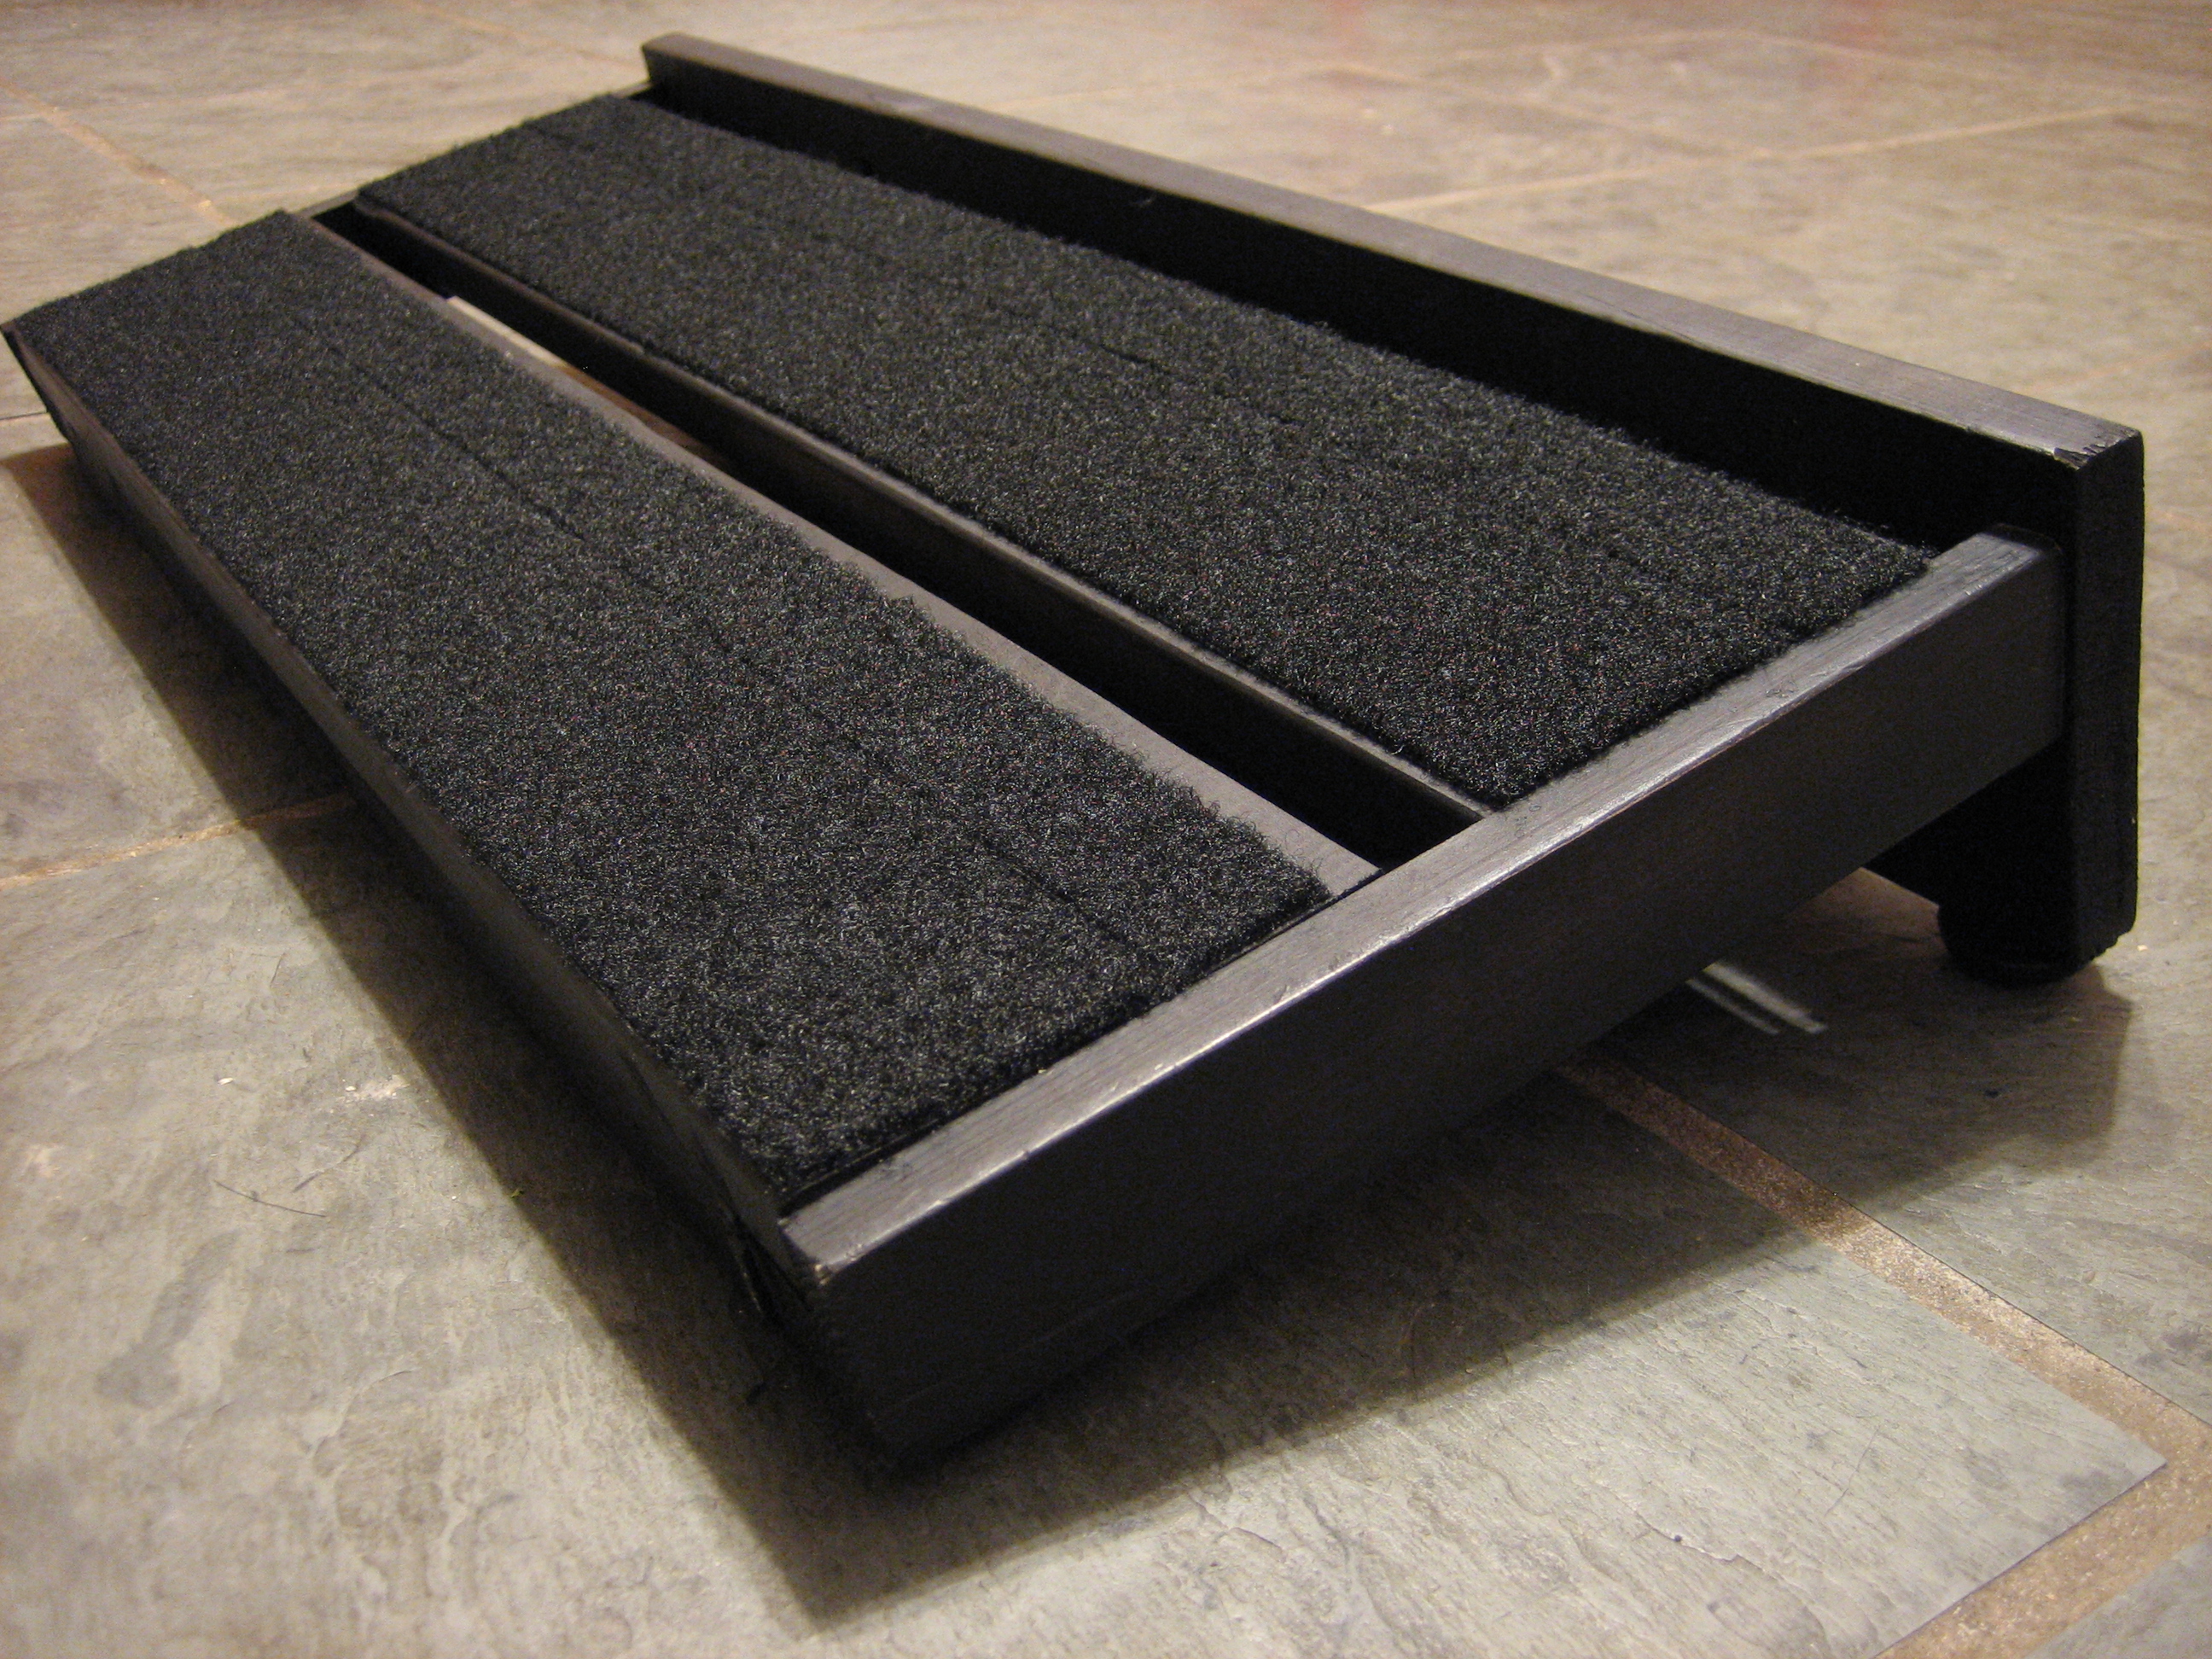
Here’s another view, on my kitchen floor.
* EDIT
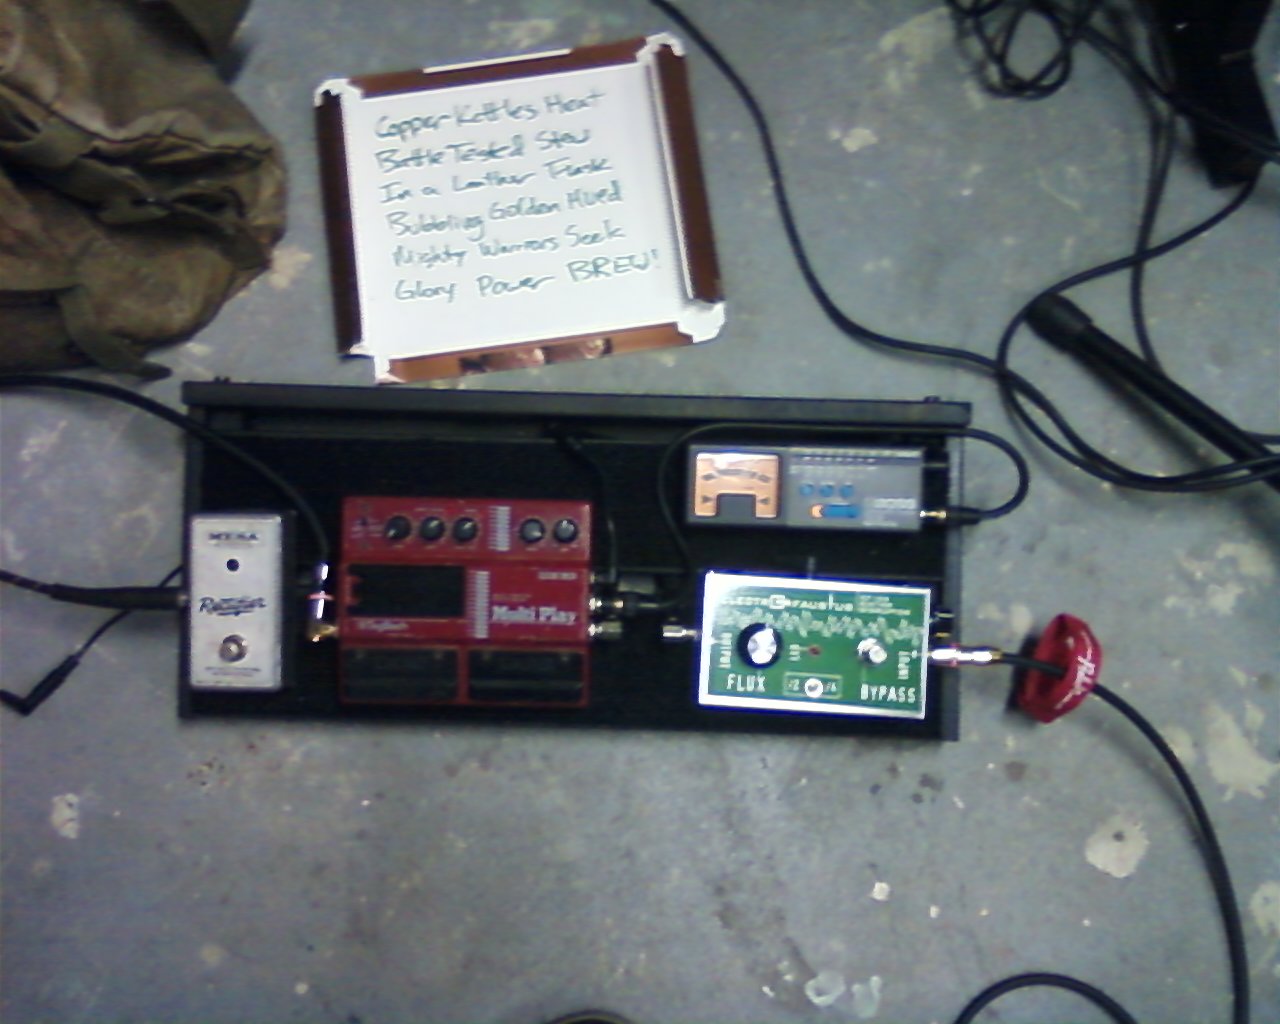
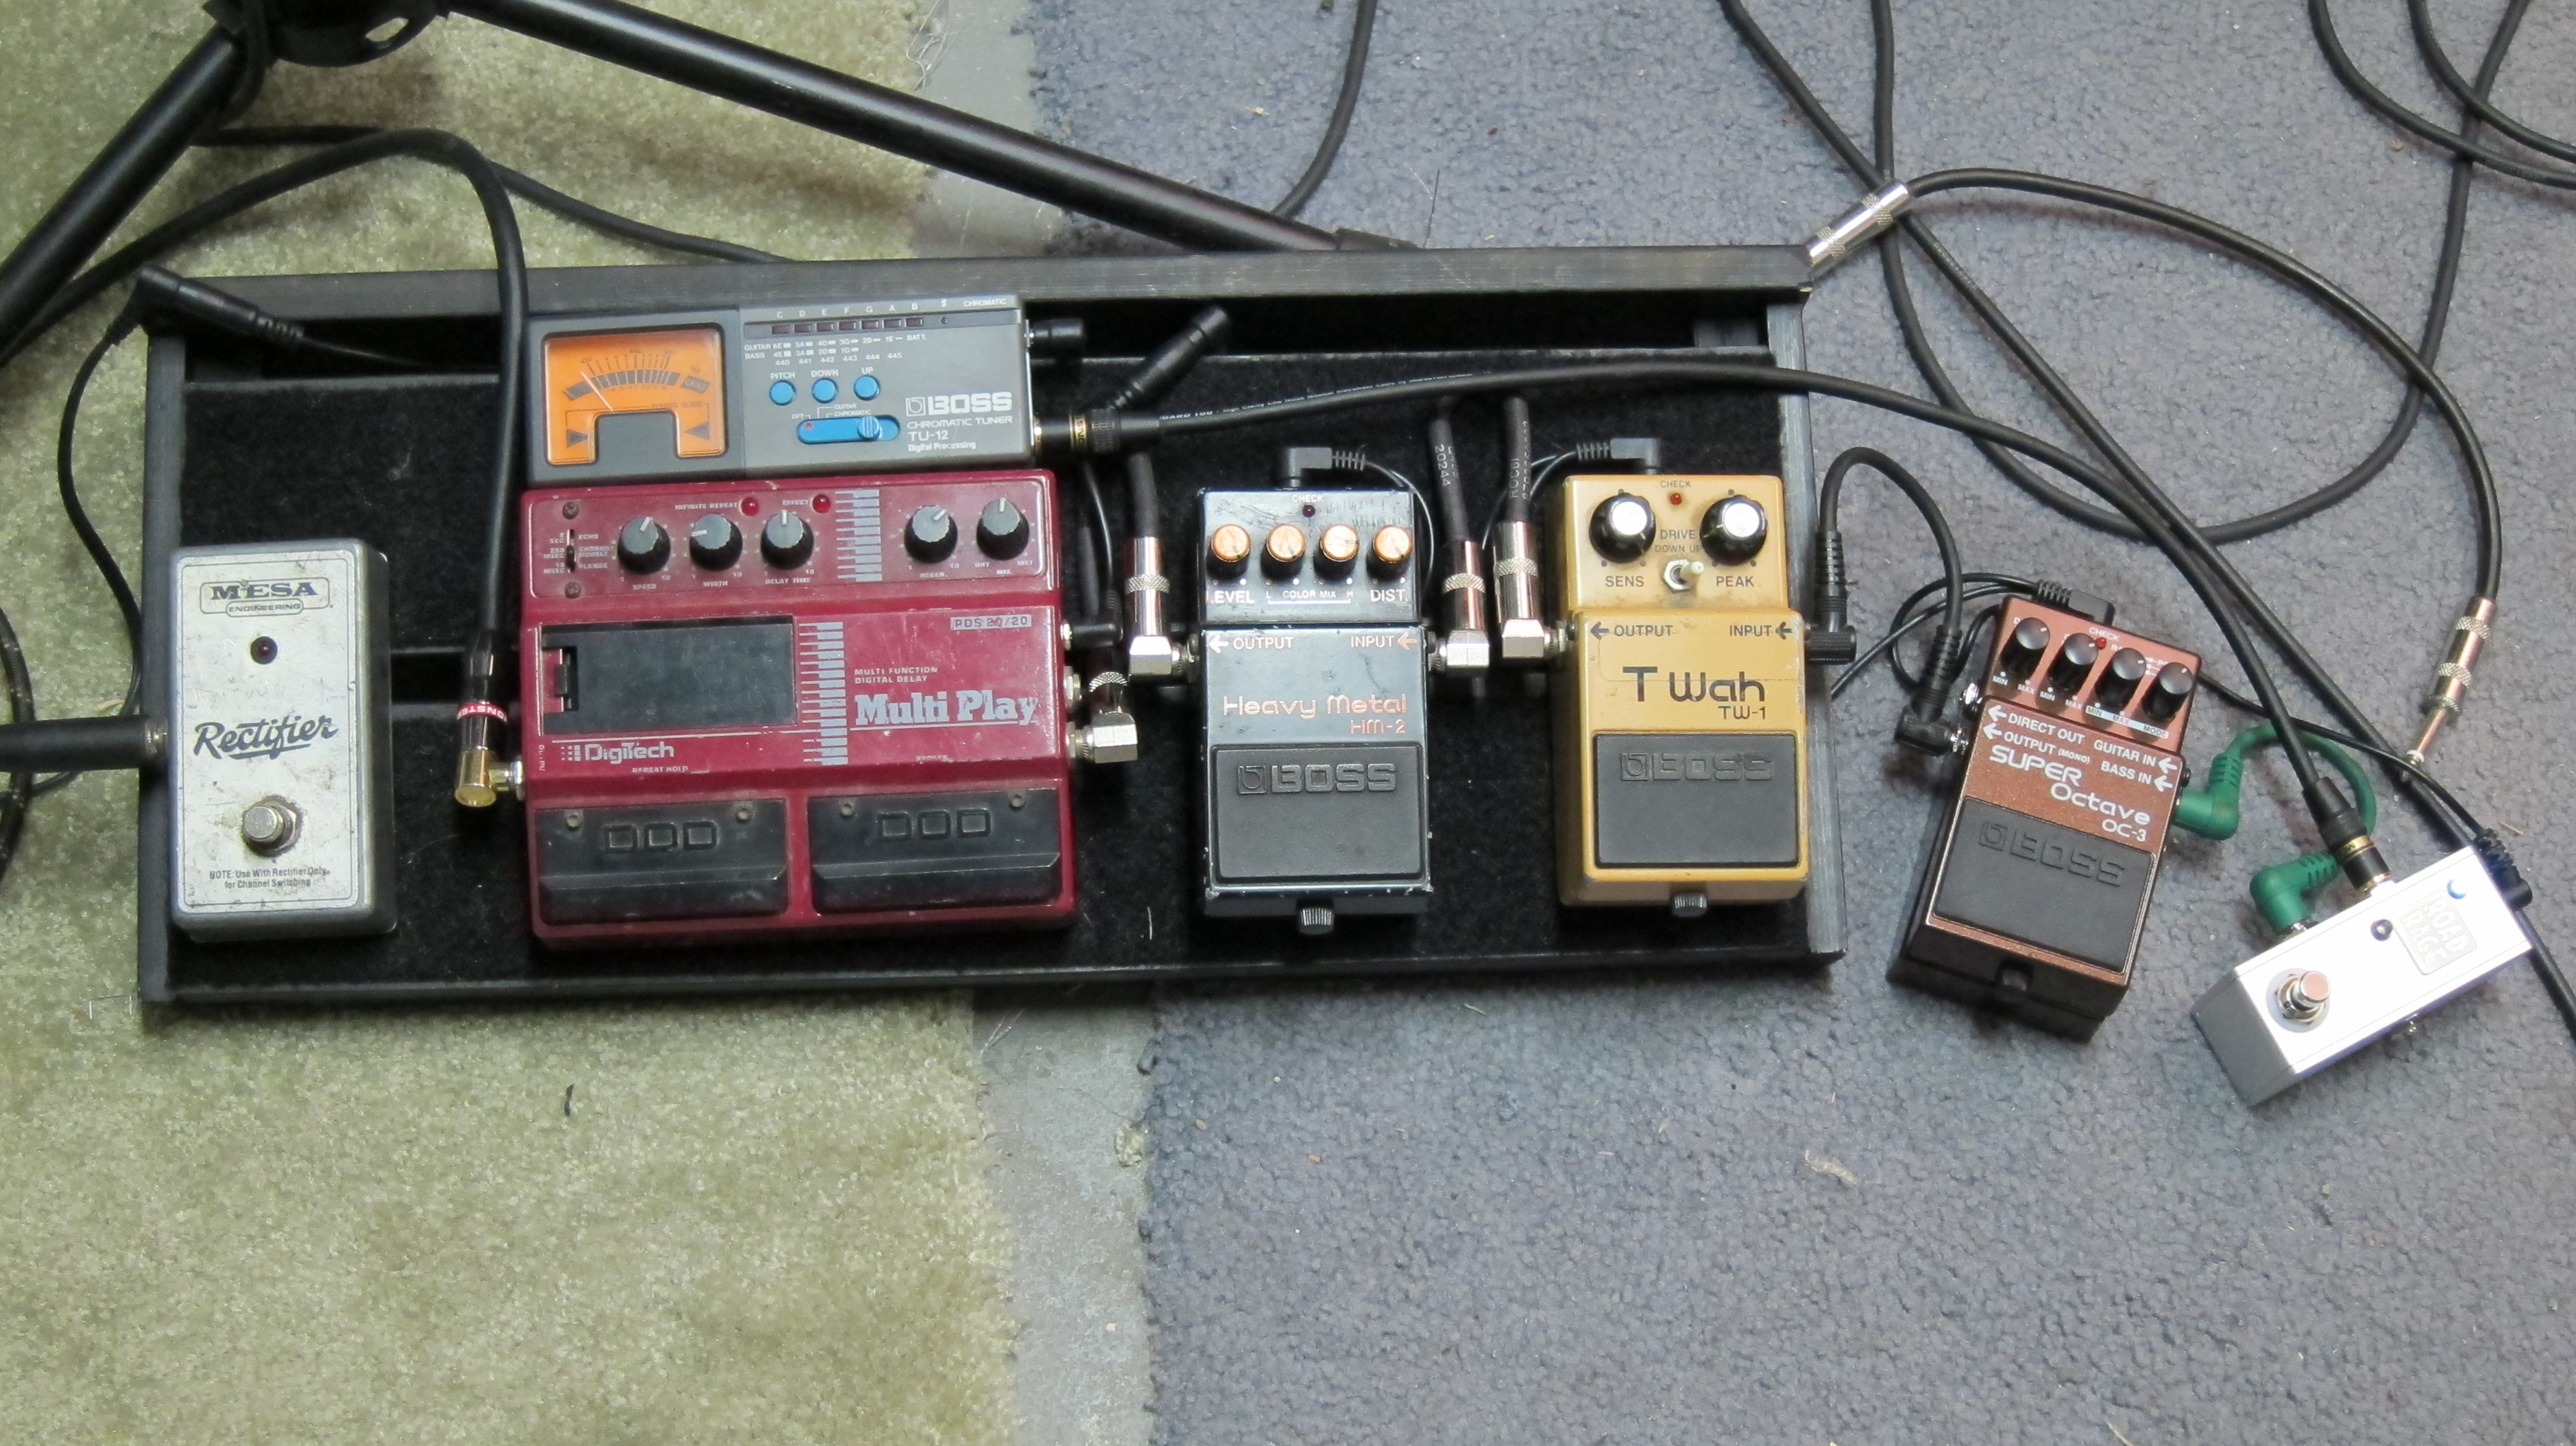
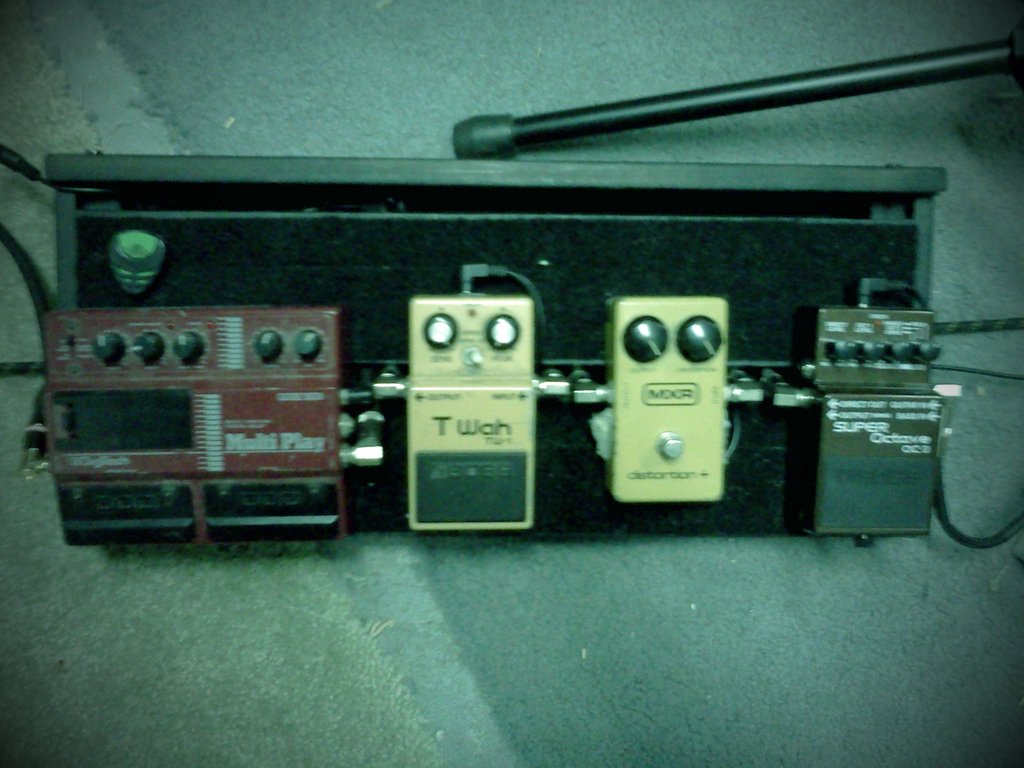
Here are a few pictures of varying qualities, with pedals.