Last weekend was the best in a long time. Adrian and I went to Berkley and Oakland, partially for a vacation, partially for a Catharsis show. We were there around 30 hours total.
Saturday we walked around Berkley, visiting some shops on Telegraph, eating burritos, contemplating matching tattoos, and just enjoying each other’s company.
we walked
leisurely morning
They don’t have the one Jack London book I want.
we held hands
big tree
it began at the regional rail
Burritos!
Amoeba Records
Later, Catharsis played a show in Oakland. Both Adrian and I got to catch up with old friends.
Gear-wise, I played my Les Paul Special through Craigums‘ 5150 head and cabinet. For distortion, I had a modded Boss SD-1, which I got in a package deal trade for my old guitar. Craig was so impressed with sound I dialed in, he told me after the show it was the best his amp had ever sounded! More on the Boss SD-1 in another post.
Wormrider was the first time I ever really thought about my guitar tone. I had done things in the past to change the tone of my guitar, sure. But Wormrider was the first time I really thought about what I was doing.
I remember Erik (our bass player) had this absolutely crushing tone, while my guitar sounded, ehh… like a distorted guitar. I started listening to music a little differently, listening to how the guitar sounded, especially on records we could call influences, however loosely. Then I heard it:
Oh yeah… Fudge Tunnel was right up our alley. I started to search online for clips of Fudge Tunnel, checked GuitarGeek, and anything I could find about Alex Newport’s gear. I turned up almost nothing, save a forum post about him using a Marshall 100w Master Volume and his website.
I’ve never heard a Marshall get that much crunch without being modded… surely there was more to it.
So I sent Alex an email. Eventually he replied.
Hi Matt how are you?
Oh, I remember, it’s pretty easy. I had a Marshall JMP 100W master volume. It has to be that amp. JCM 800, 900, 2000, Plexi, none of them will work. There’s something about the JMP, it’s the only Marshall I ever liked.
As you guessed, there is a trick – stock JMP doesn’t have quite enough gain.
For Hate Songs, I used a little Boss booster amp before the Marshall, to overdrive the preamp more. I can’t remember the model number, but any booster pedal will do, MXR micro amp is the same kinda thing.
Later on I started using a pedal – Boss Turbo Distortion, and sometimes DS1, before the Marshall.
Same thing pretty much. Marshall had everything on full, except the mids which were all the way off.
Typically in the studio the amp signal would get EQ’s again with more mids pulled out. You also need to play a guitar with Gibson humbuckers (SG, LP) and use the bridge pickup BUT roll off the tone. All the way off. Instant Sabbath.
JMP’s have got way pricey these days, but well worth it.
Have fun!
A
Well… I didn’t have a booster pedal, nor did I have a vintage Marshall amp (still don’t). But I did have Gibson guitars with humbuckers, and an old MXR Distortion+ (block logo, no LED for those that care).
So the next practice I set it up using the clean channel of my Dual Rectifier and the Distortion+. I used Alex’s suggestion as a starting place, everything all the way up (except the volume) and mids all the they down. I rolled off the tone on my guitar (turns out that part was key). The sound was way too brittle with the presence control all the way up, so I cut it too. A little bit of tweaking the amp’s gain and I had it! My version of the Fudge Tunnel guitar tone!
Later, I got a boost pedal to push the distorted channel of my amp, rather than using a distortion pedal. The boost pedal has an LED so I can see the pedal is on (unlike my old Distortion+). Sometimes it was hard to hear if the Distortion+ was engaged when we were all playing.
You can hear the results on our last recording. The songs are epically long, but the guitar tone is crushing.
Years ago, I read an interview with Paul Stanley of KISS in a guitar magazine. When asked about his guitar setup, he answered with something like, “If you can’t get the tone you want out of your amp, you’re doing something wrong.”
I took that to heart, and have striven to keep my guitar rig as simple as possible. If I needed to tune, I’d put my amp on standby, unplug the guitar from the amp, plug into the tuner, tune, plug the guitar back into the amp and turn it back on. Cumbersome? Yes. But my signal was pure, nothing to hold it back. No pedal to get kicked or stepped on accidentally. Less crap to haul around.
However my latest band, Wormrider is not so simple. I’ve found myself needing and wanting effects to change my tone at times, or to make noises. As I came to grips with the fact I’ll be using some effects pedals in this band, I began to think about how I could make the set-up more simple. A daisy-chain power source was one way. A pedalboard was another.
I did a lot of research on pedalboards. They were almost all more money than I was willing to spend, or the inexpensive ones didn’t have the features I wanted. Many were way too large. I remembered a post on Lifehacker about a pedalboard made from an Ikea shelf. So I did some more research and decided to build one. I liked the slatted base, that I could set the incline I want, and the inexpensive price.
I took stock of the pedals I currently use and the few that I want and decided the Gorm shelf that was roughly 19.5″ x 12″ would be perfect. When I got to Ikea, they only had the 19.5″ x 20″ one. No bother, I was going to cut the smaller one down anyway. It would give me enough wood to make another one if I wanted. I also purchased a pack of height extension posts
At the hardware store, I purchased some matte black spray-paint, industrial strength Velcro tape, and some non-slip rubber feet.
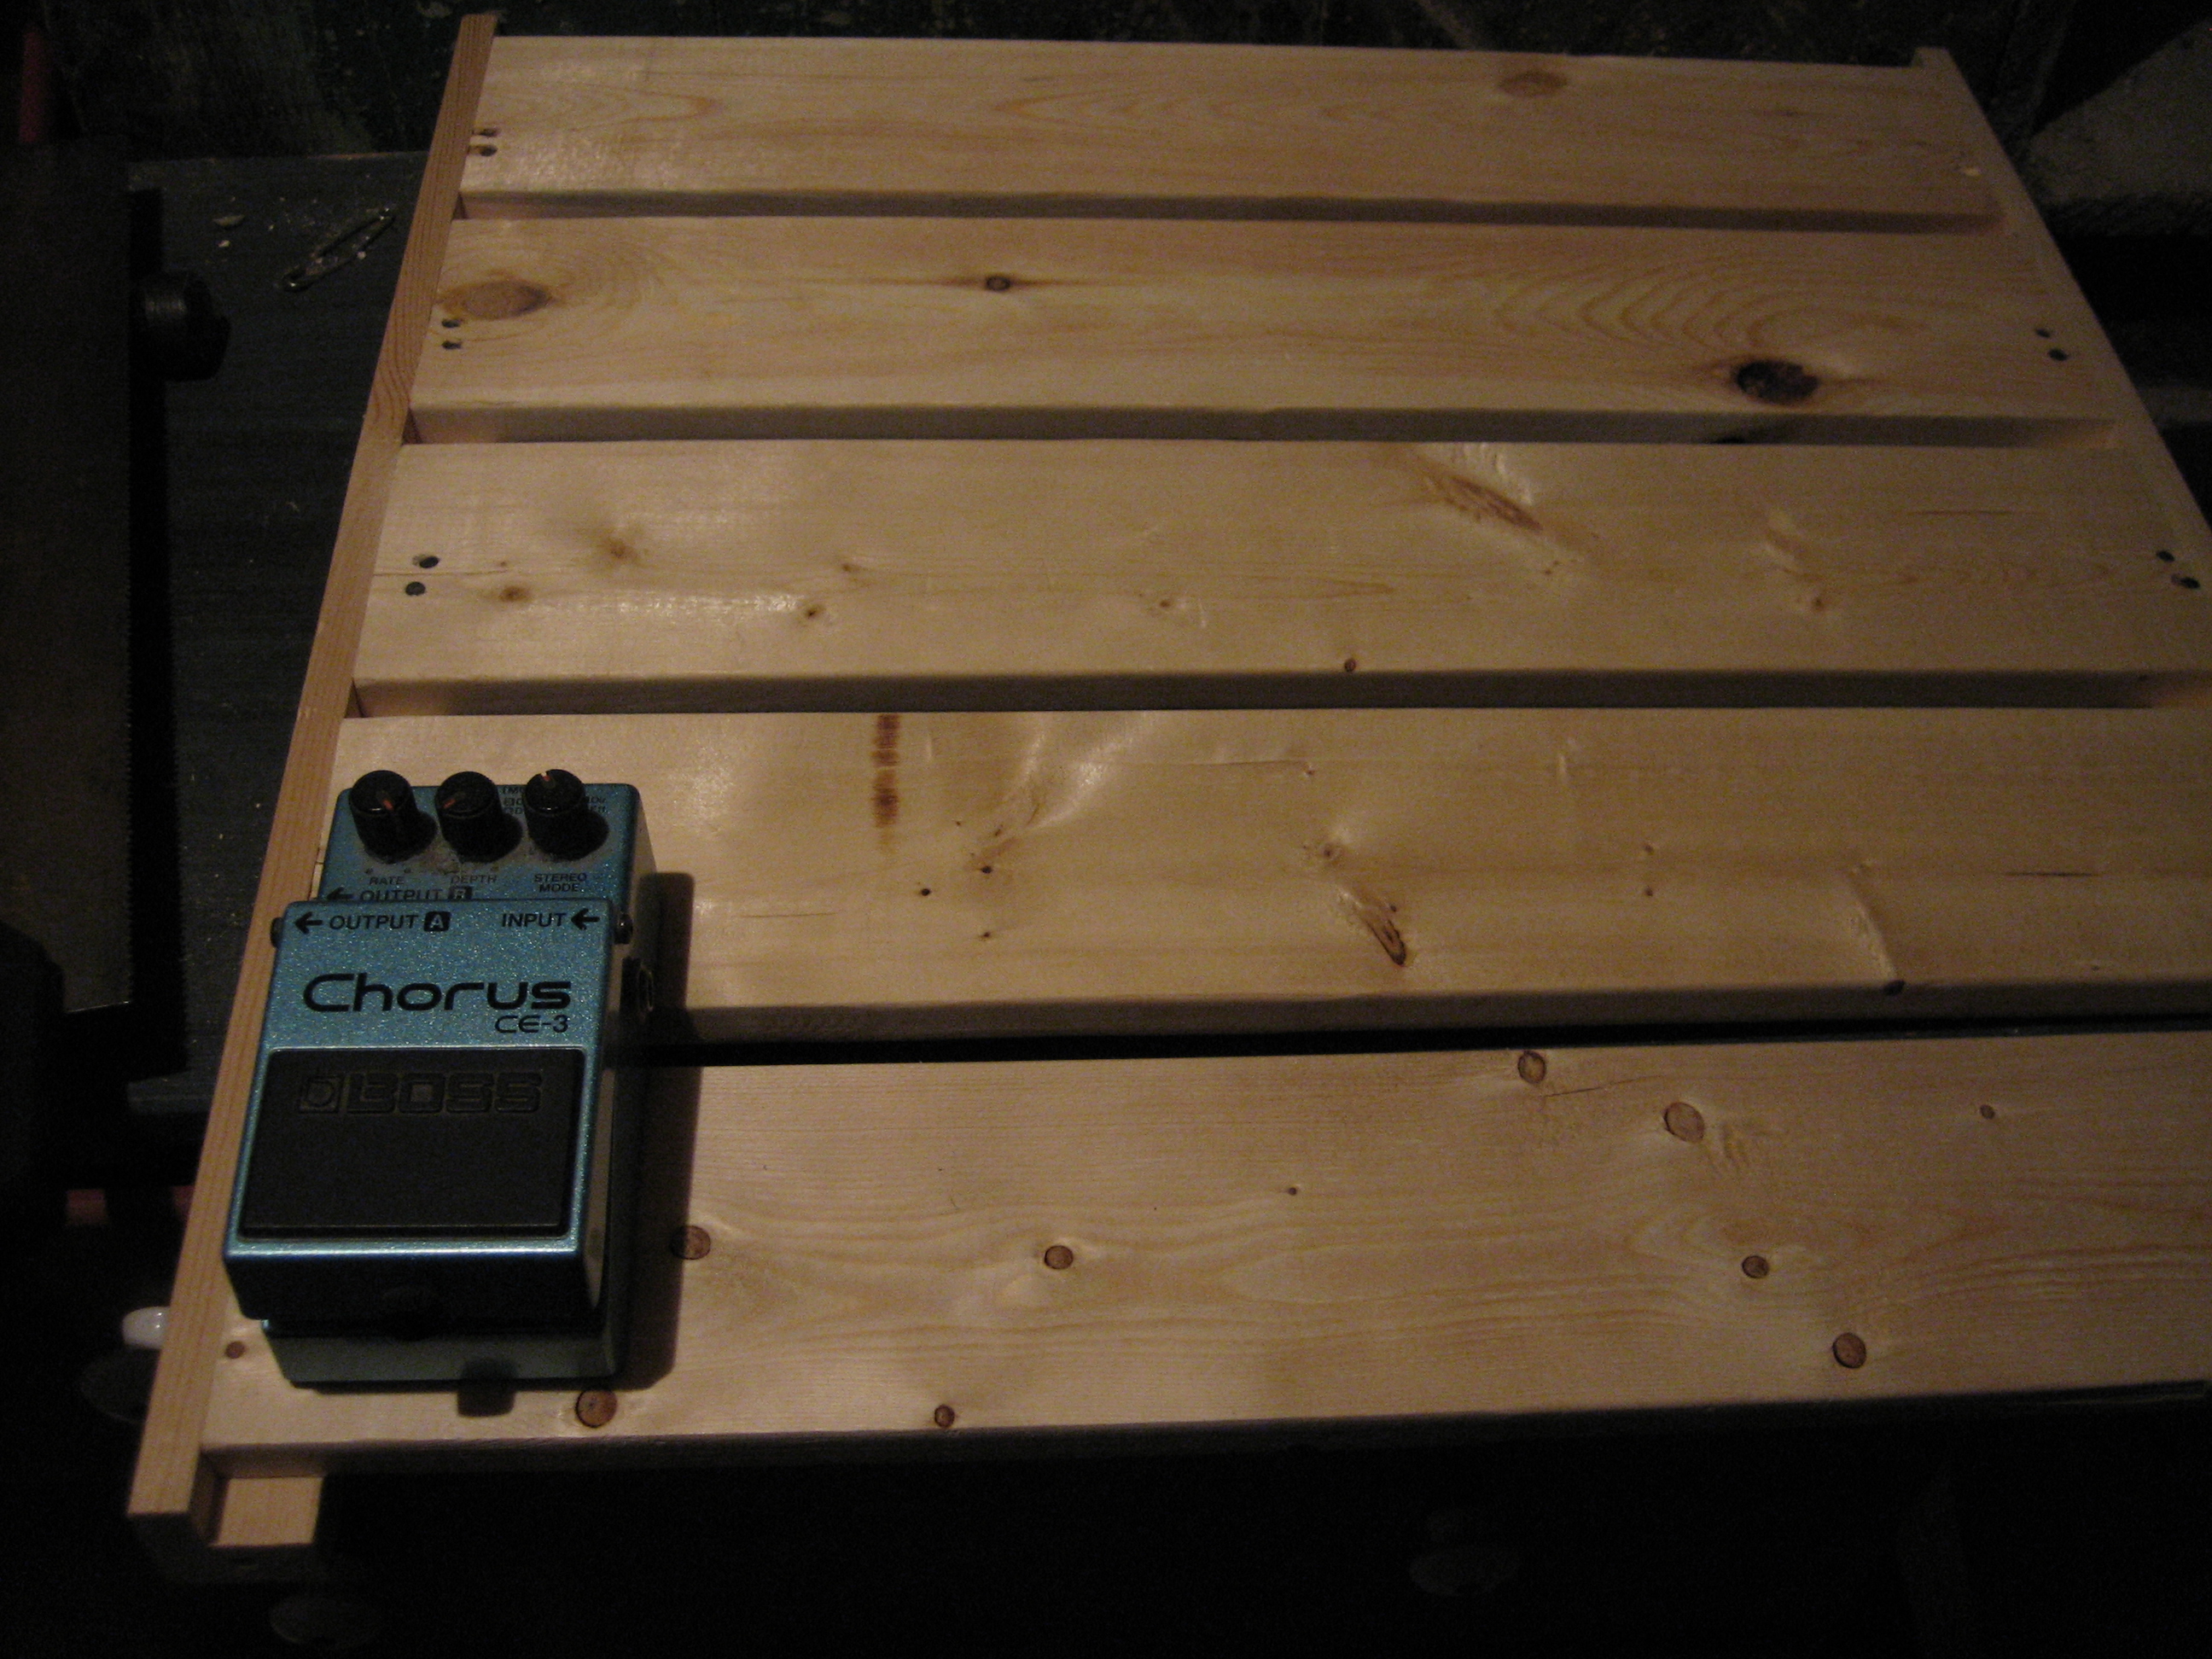
The full shelf and a typical sized effects pedal.
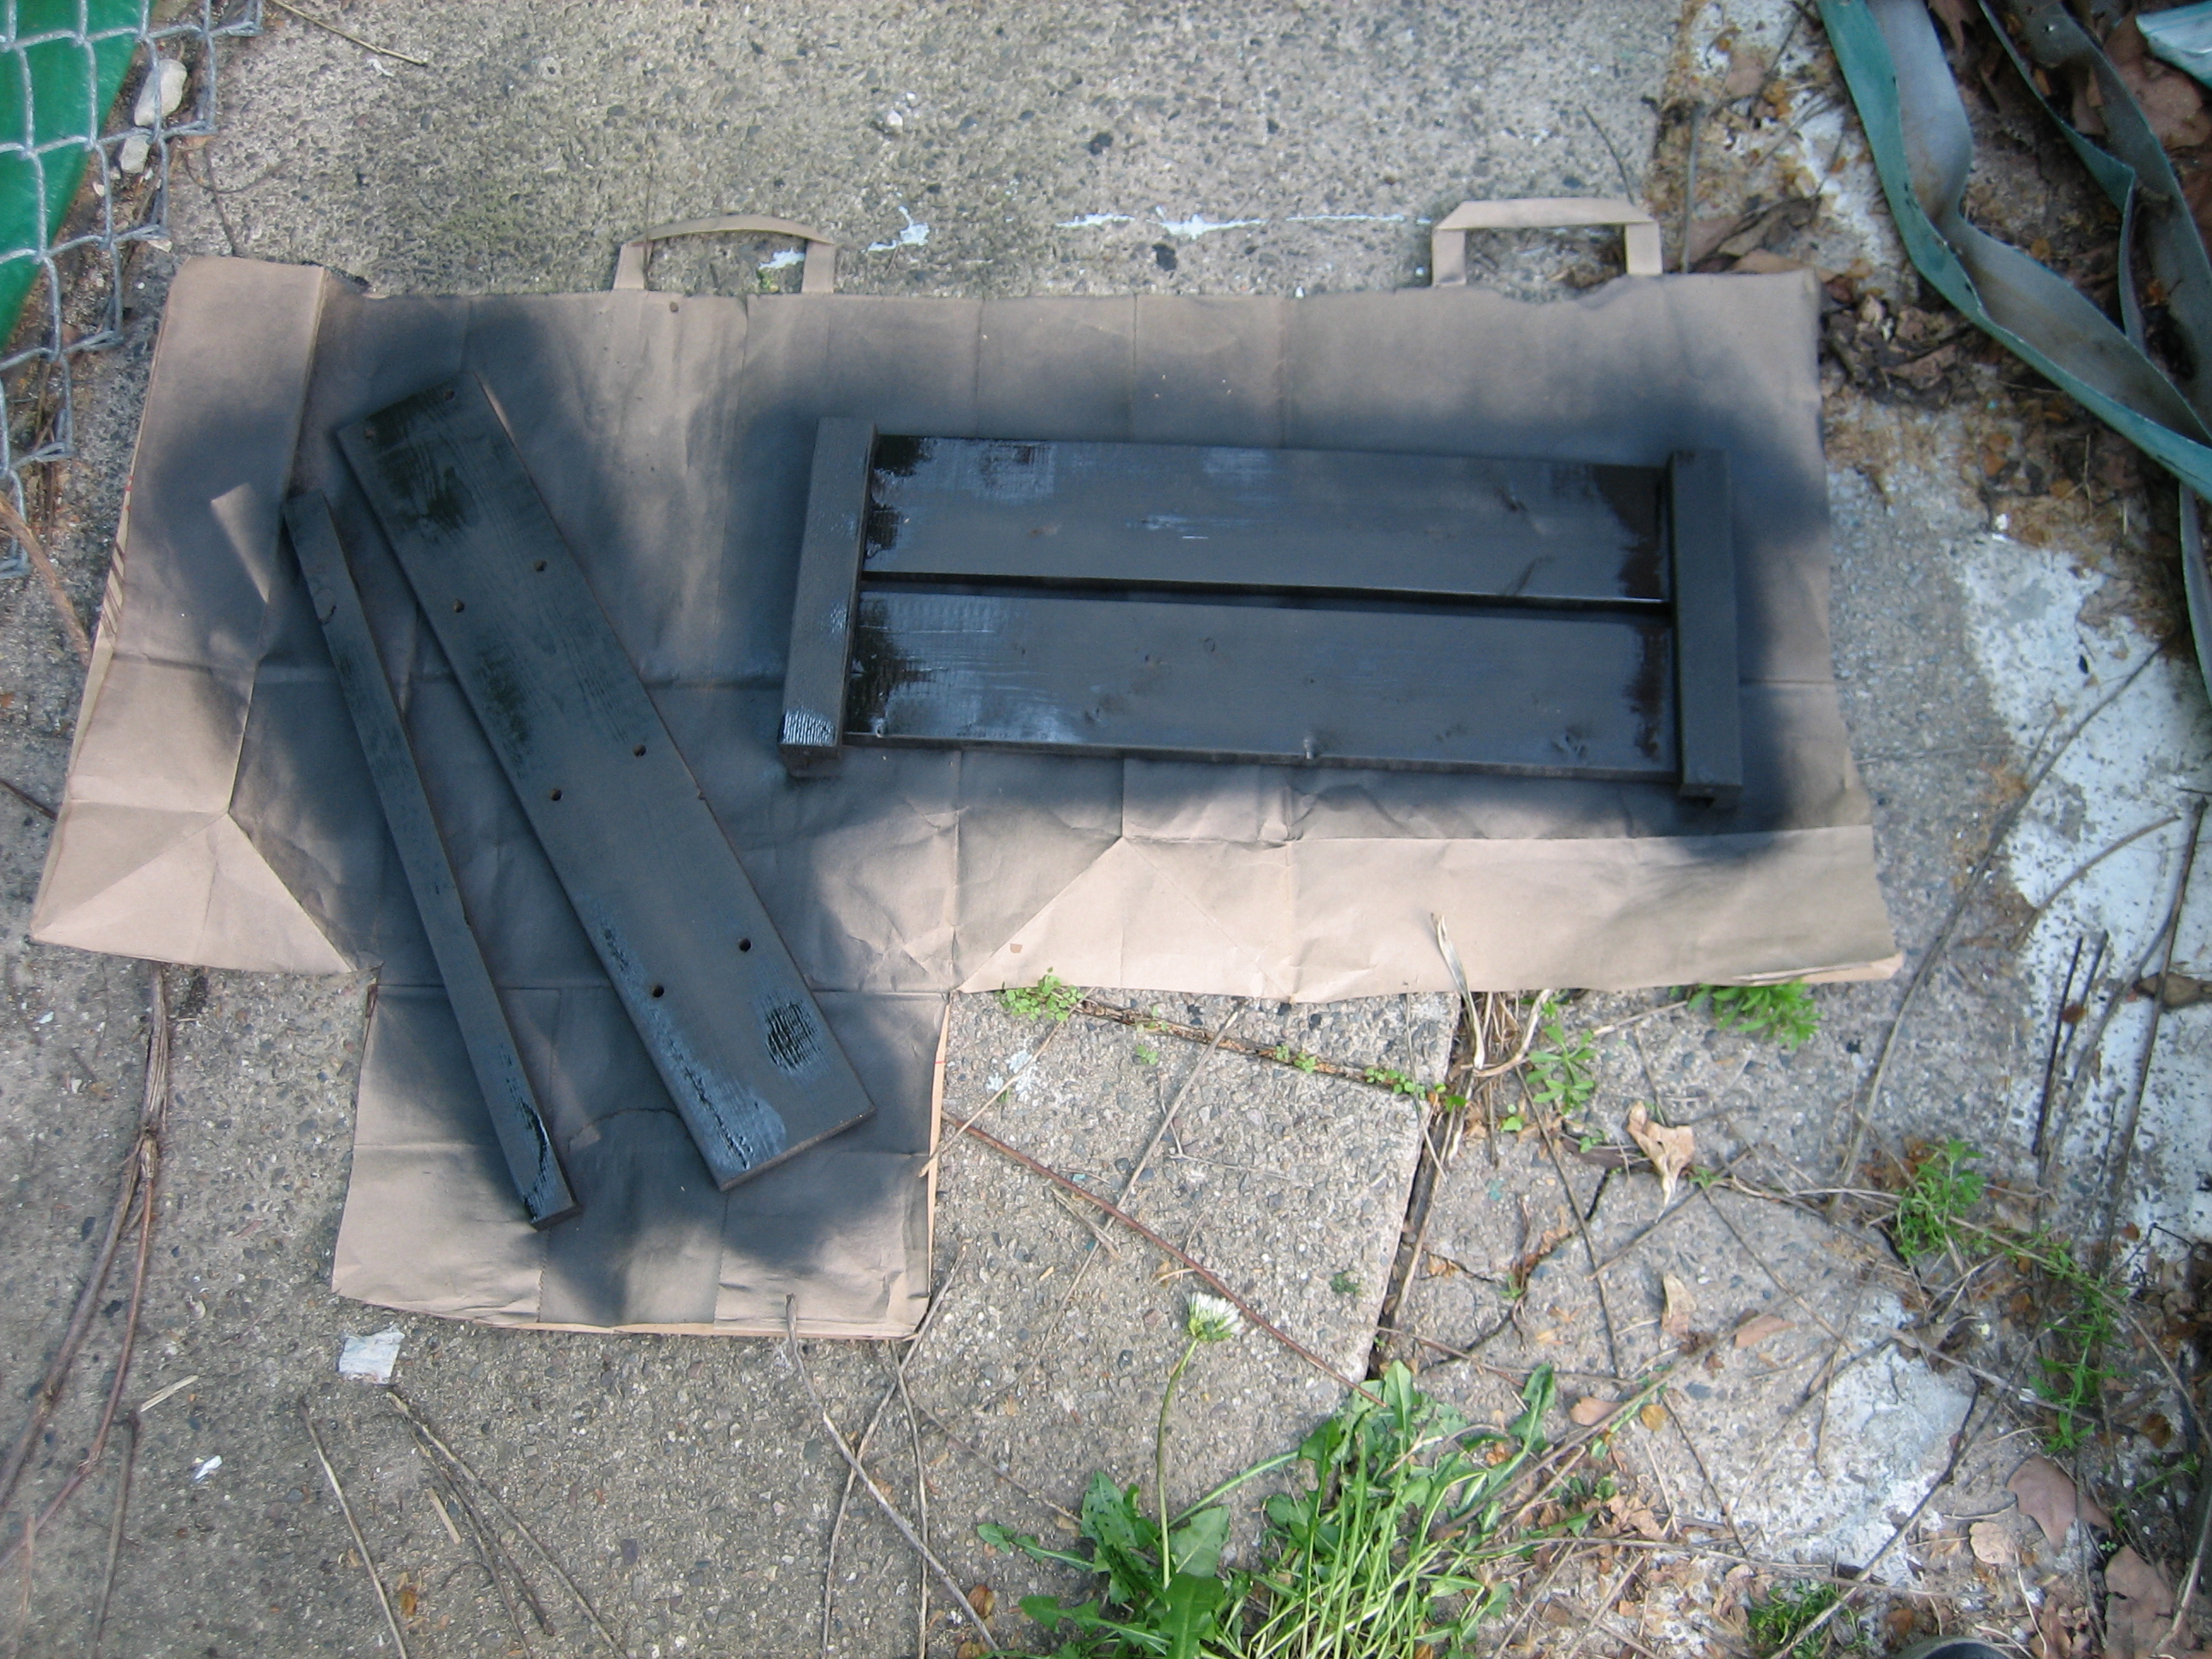
I cut three slats off, measured and cut the extension posts, and found a piece of scrap wood in my basement for the front trim.
After cutting the wood to size.
Next I sanded everything, especially the cuts I made, so there would be no rough edges. Then I broke out the spray-paint, giving each piece two good coats.
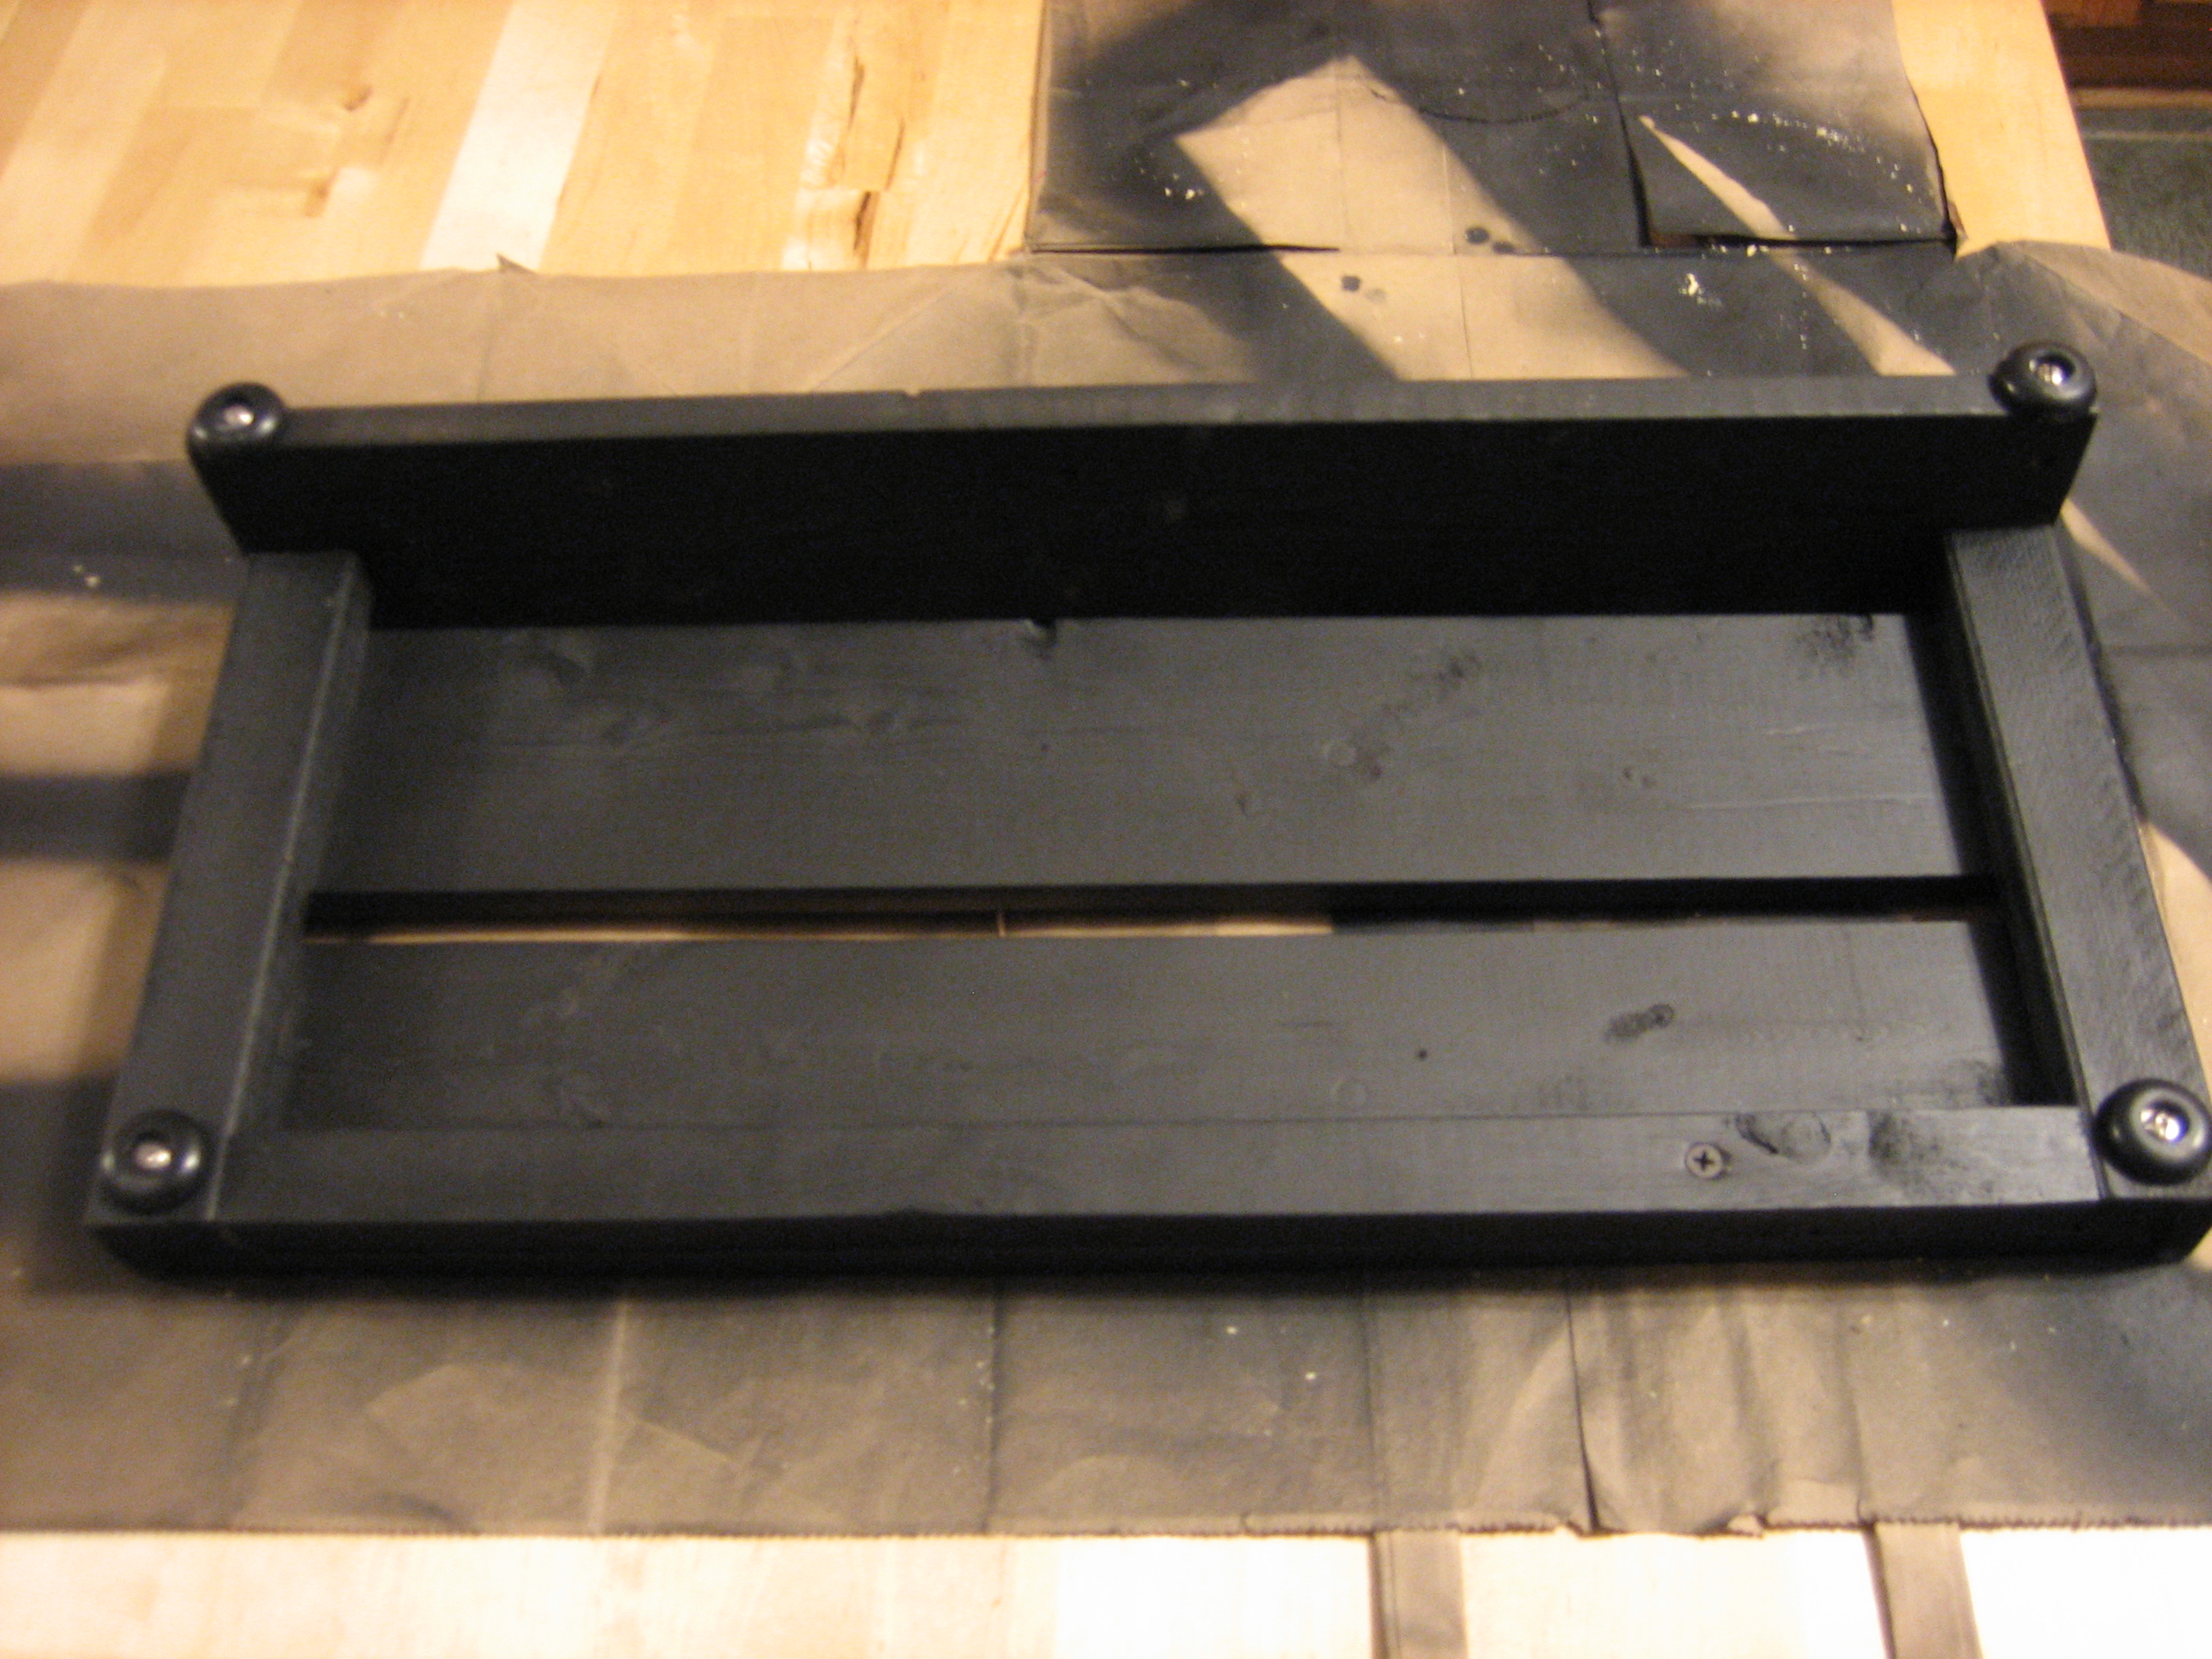
Once the paint dried, I assembled the pedalboard and attached the rubber feet. Getting it to sit level required a little troubleshooting. Turns out the shelf wasn’t perfectly flat, so I had to widen the holes on the extension post to wiggle it around a little bit.
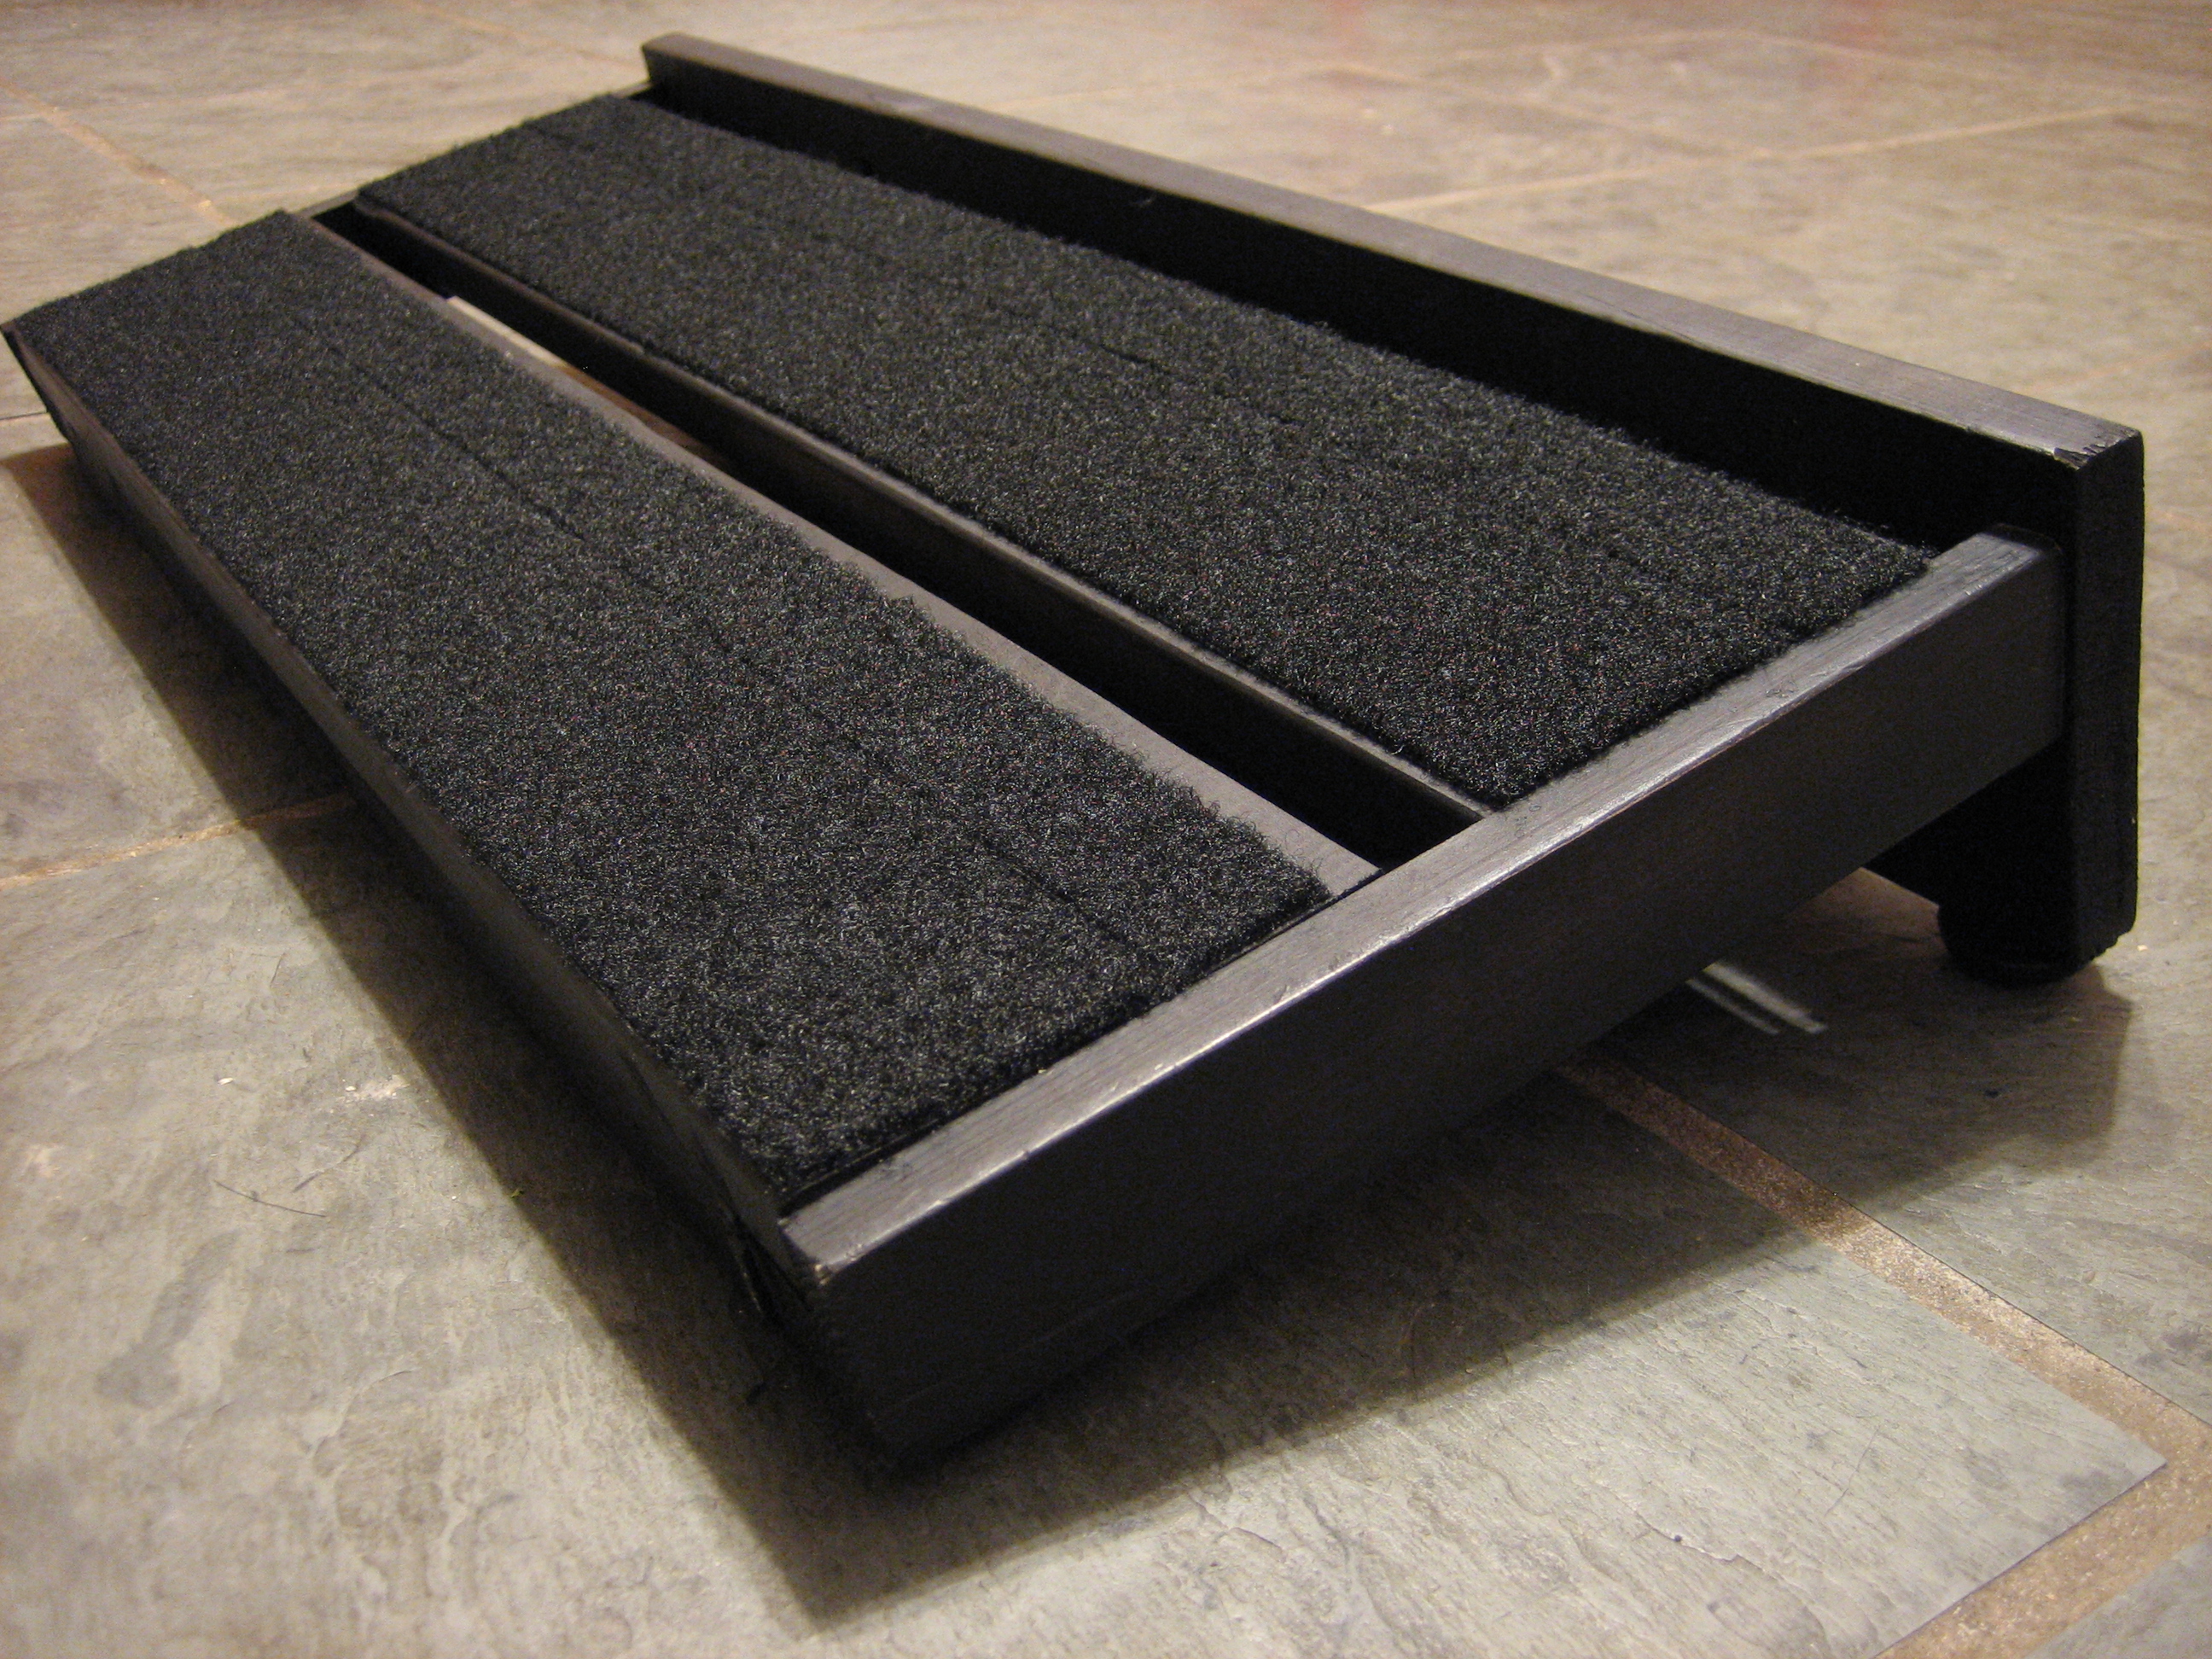
Here it is right-side up.
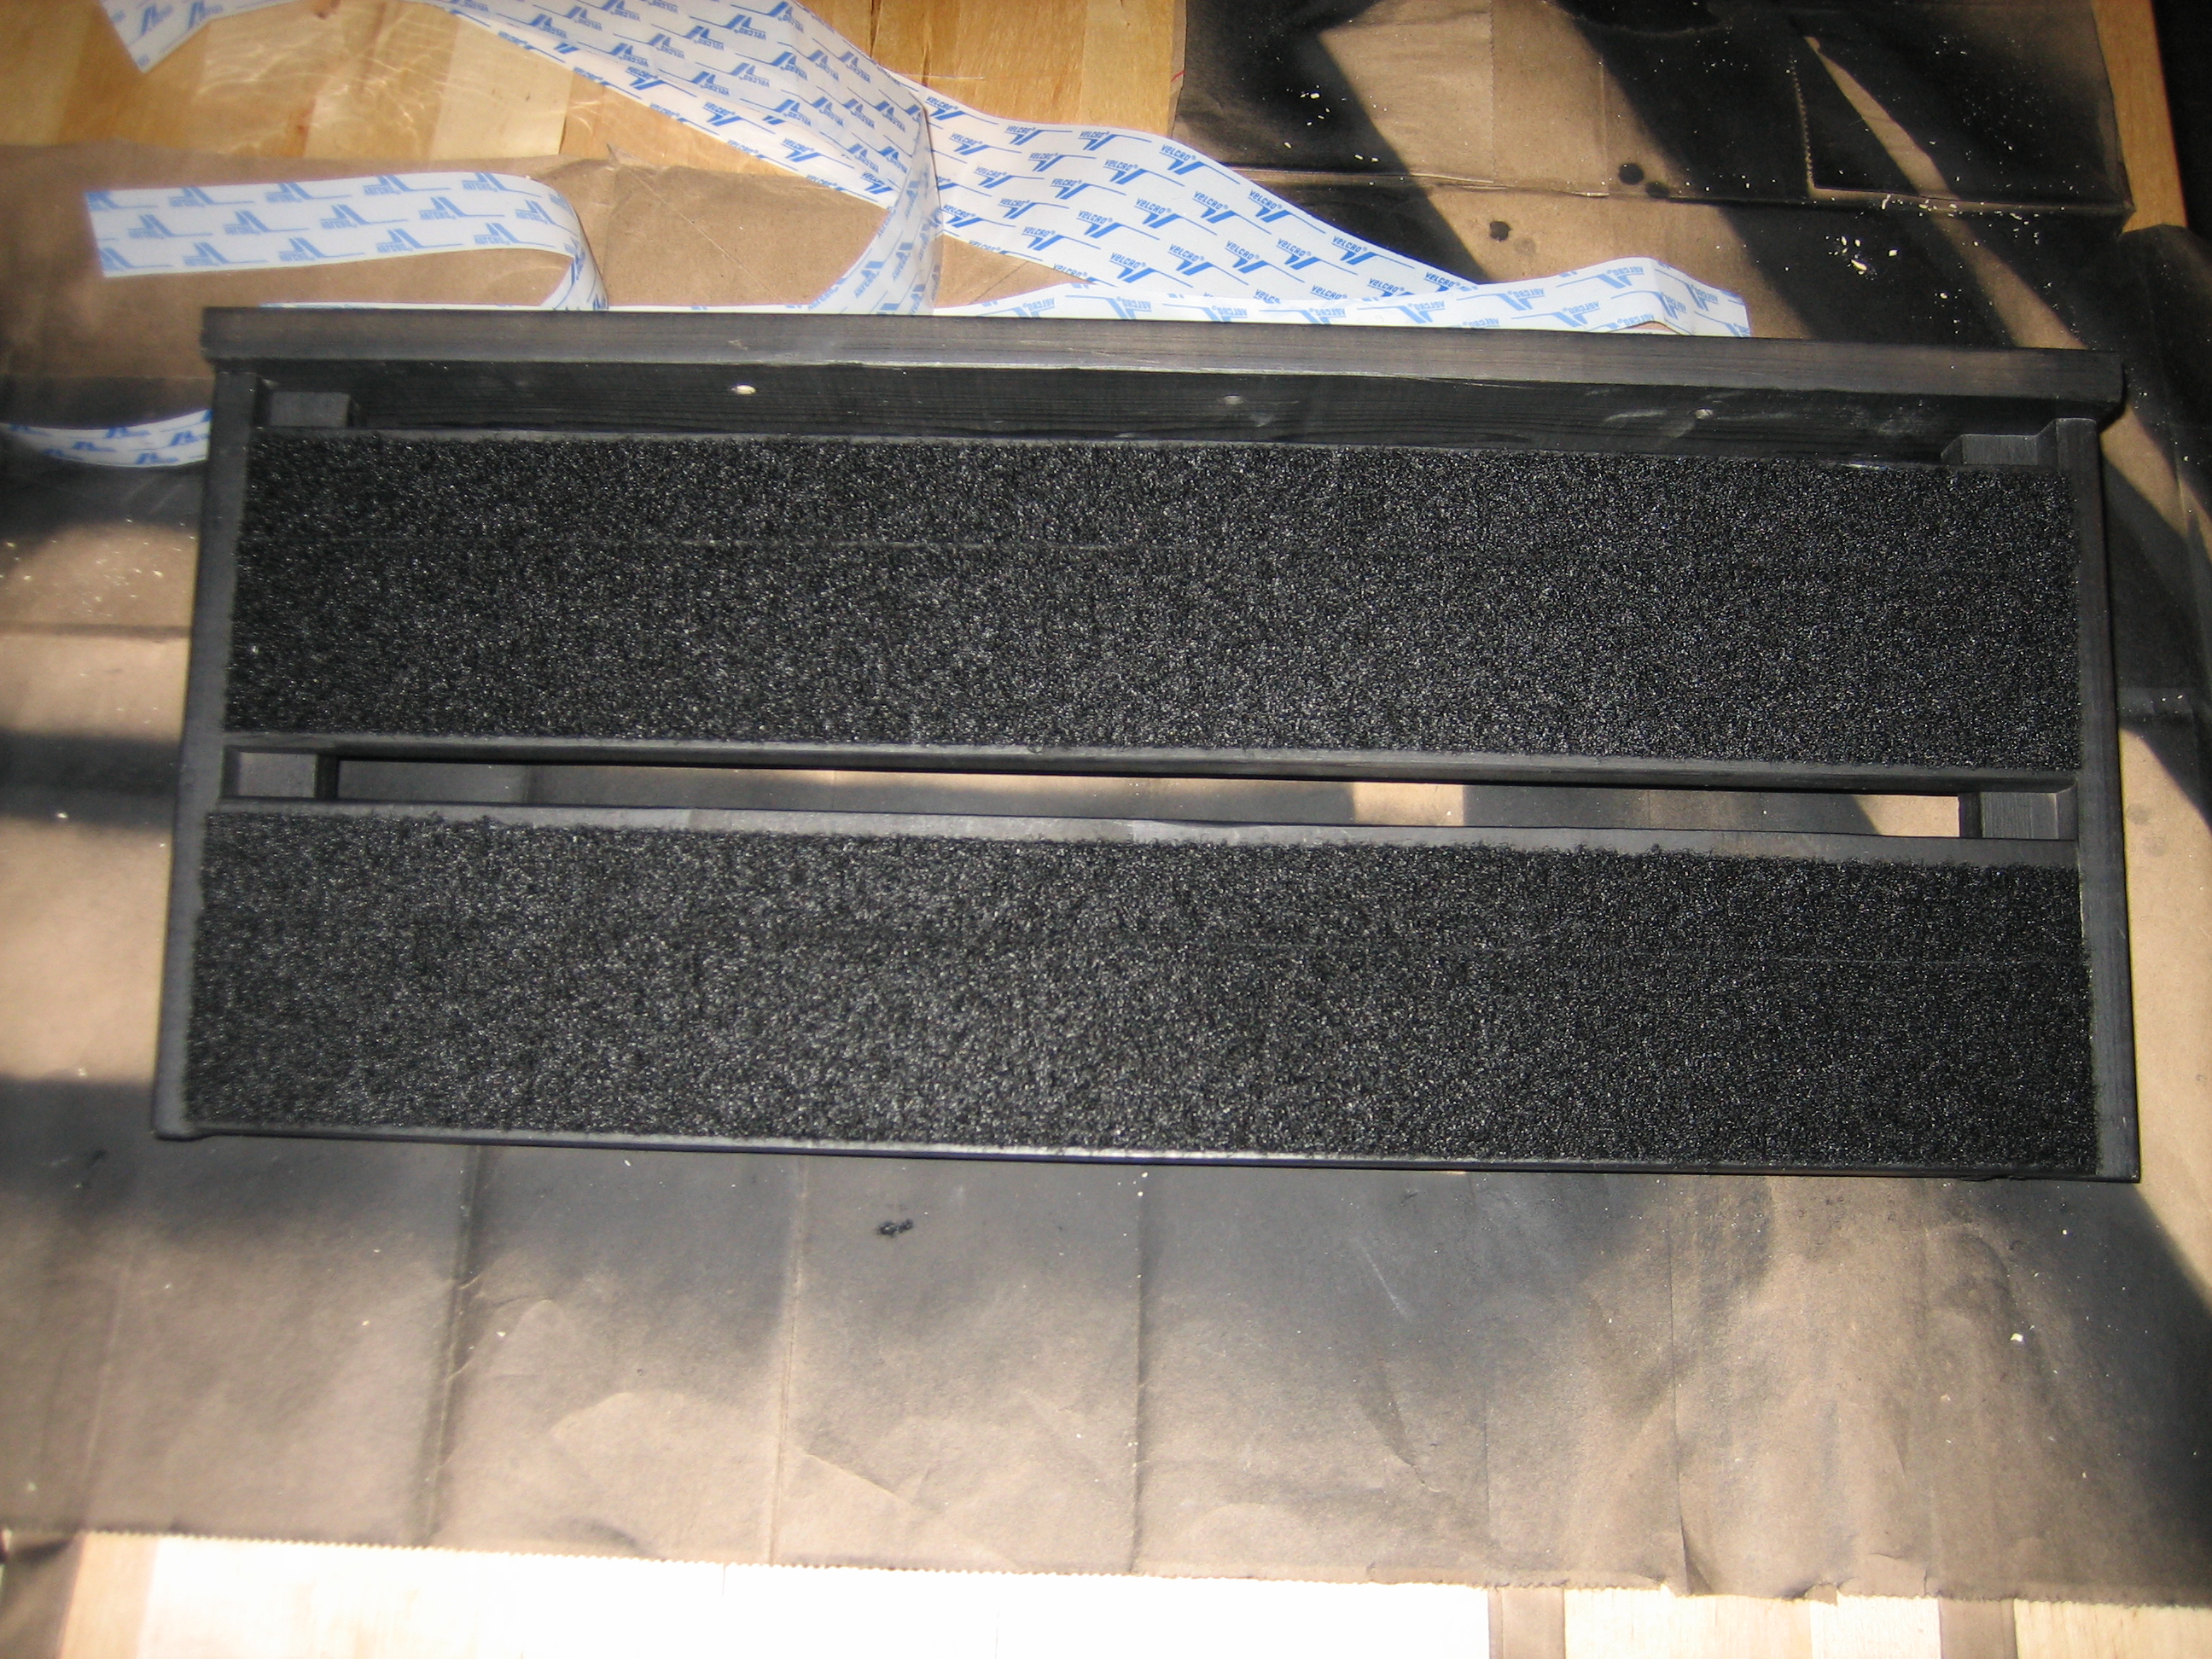
After measuring and cutting the loop side of the Velcro tape (the hook side goes on the bottom of each pedal) using a t-square and exacto knife, I stuck it on and the pedalboard was complete!
Here’s another view, on my kitchen floor.
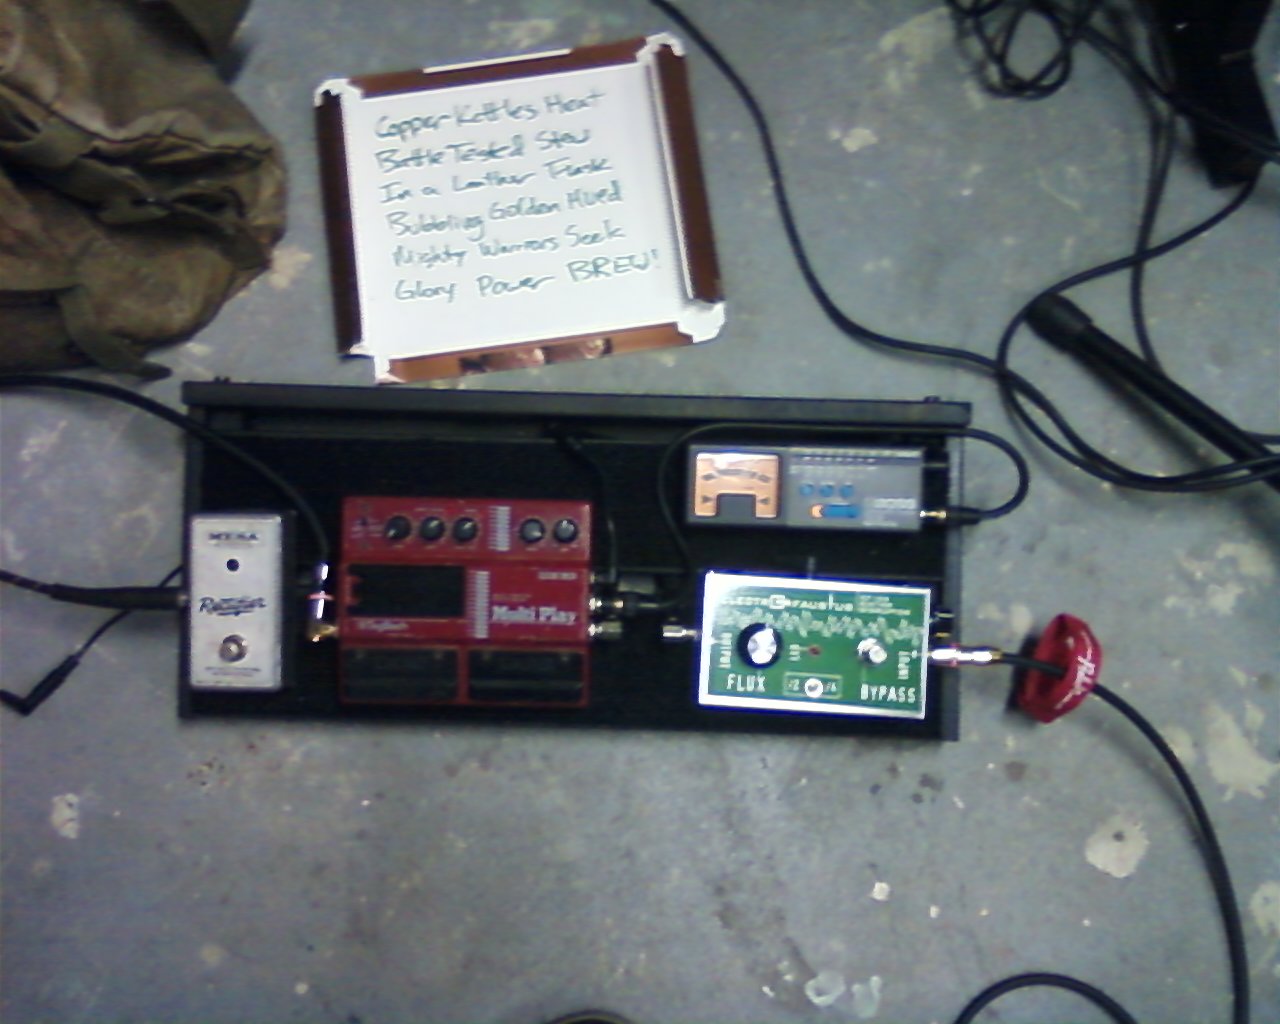
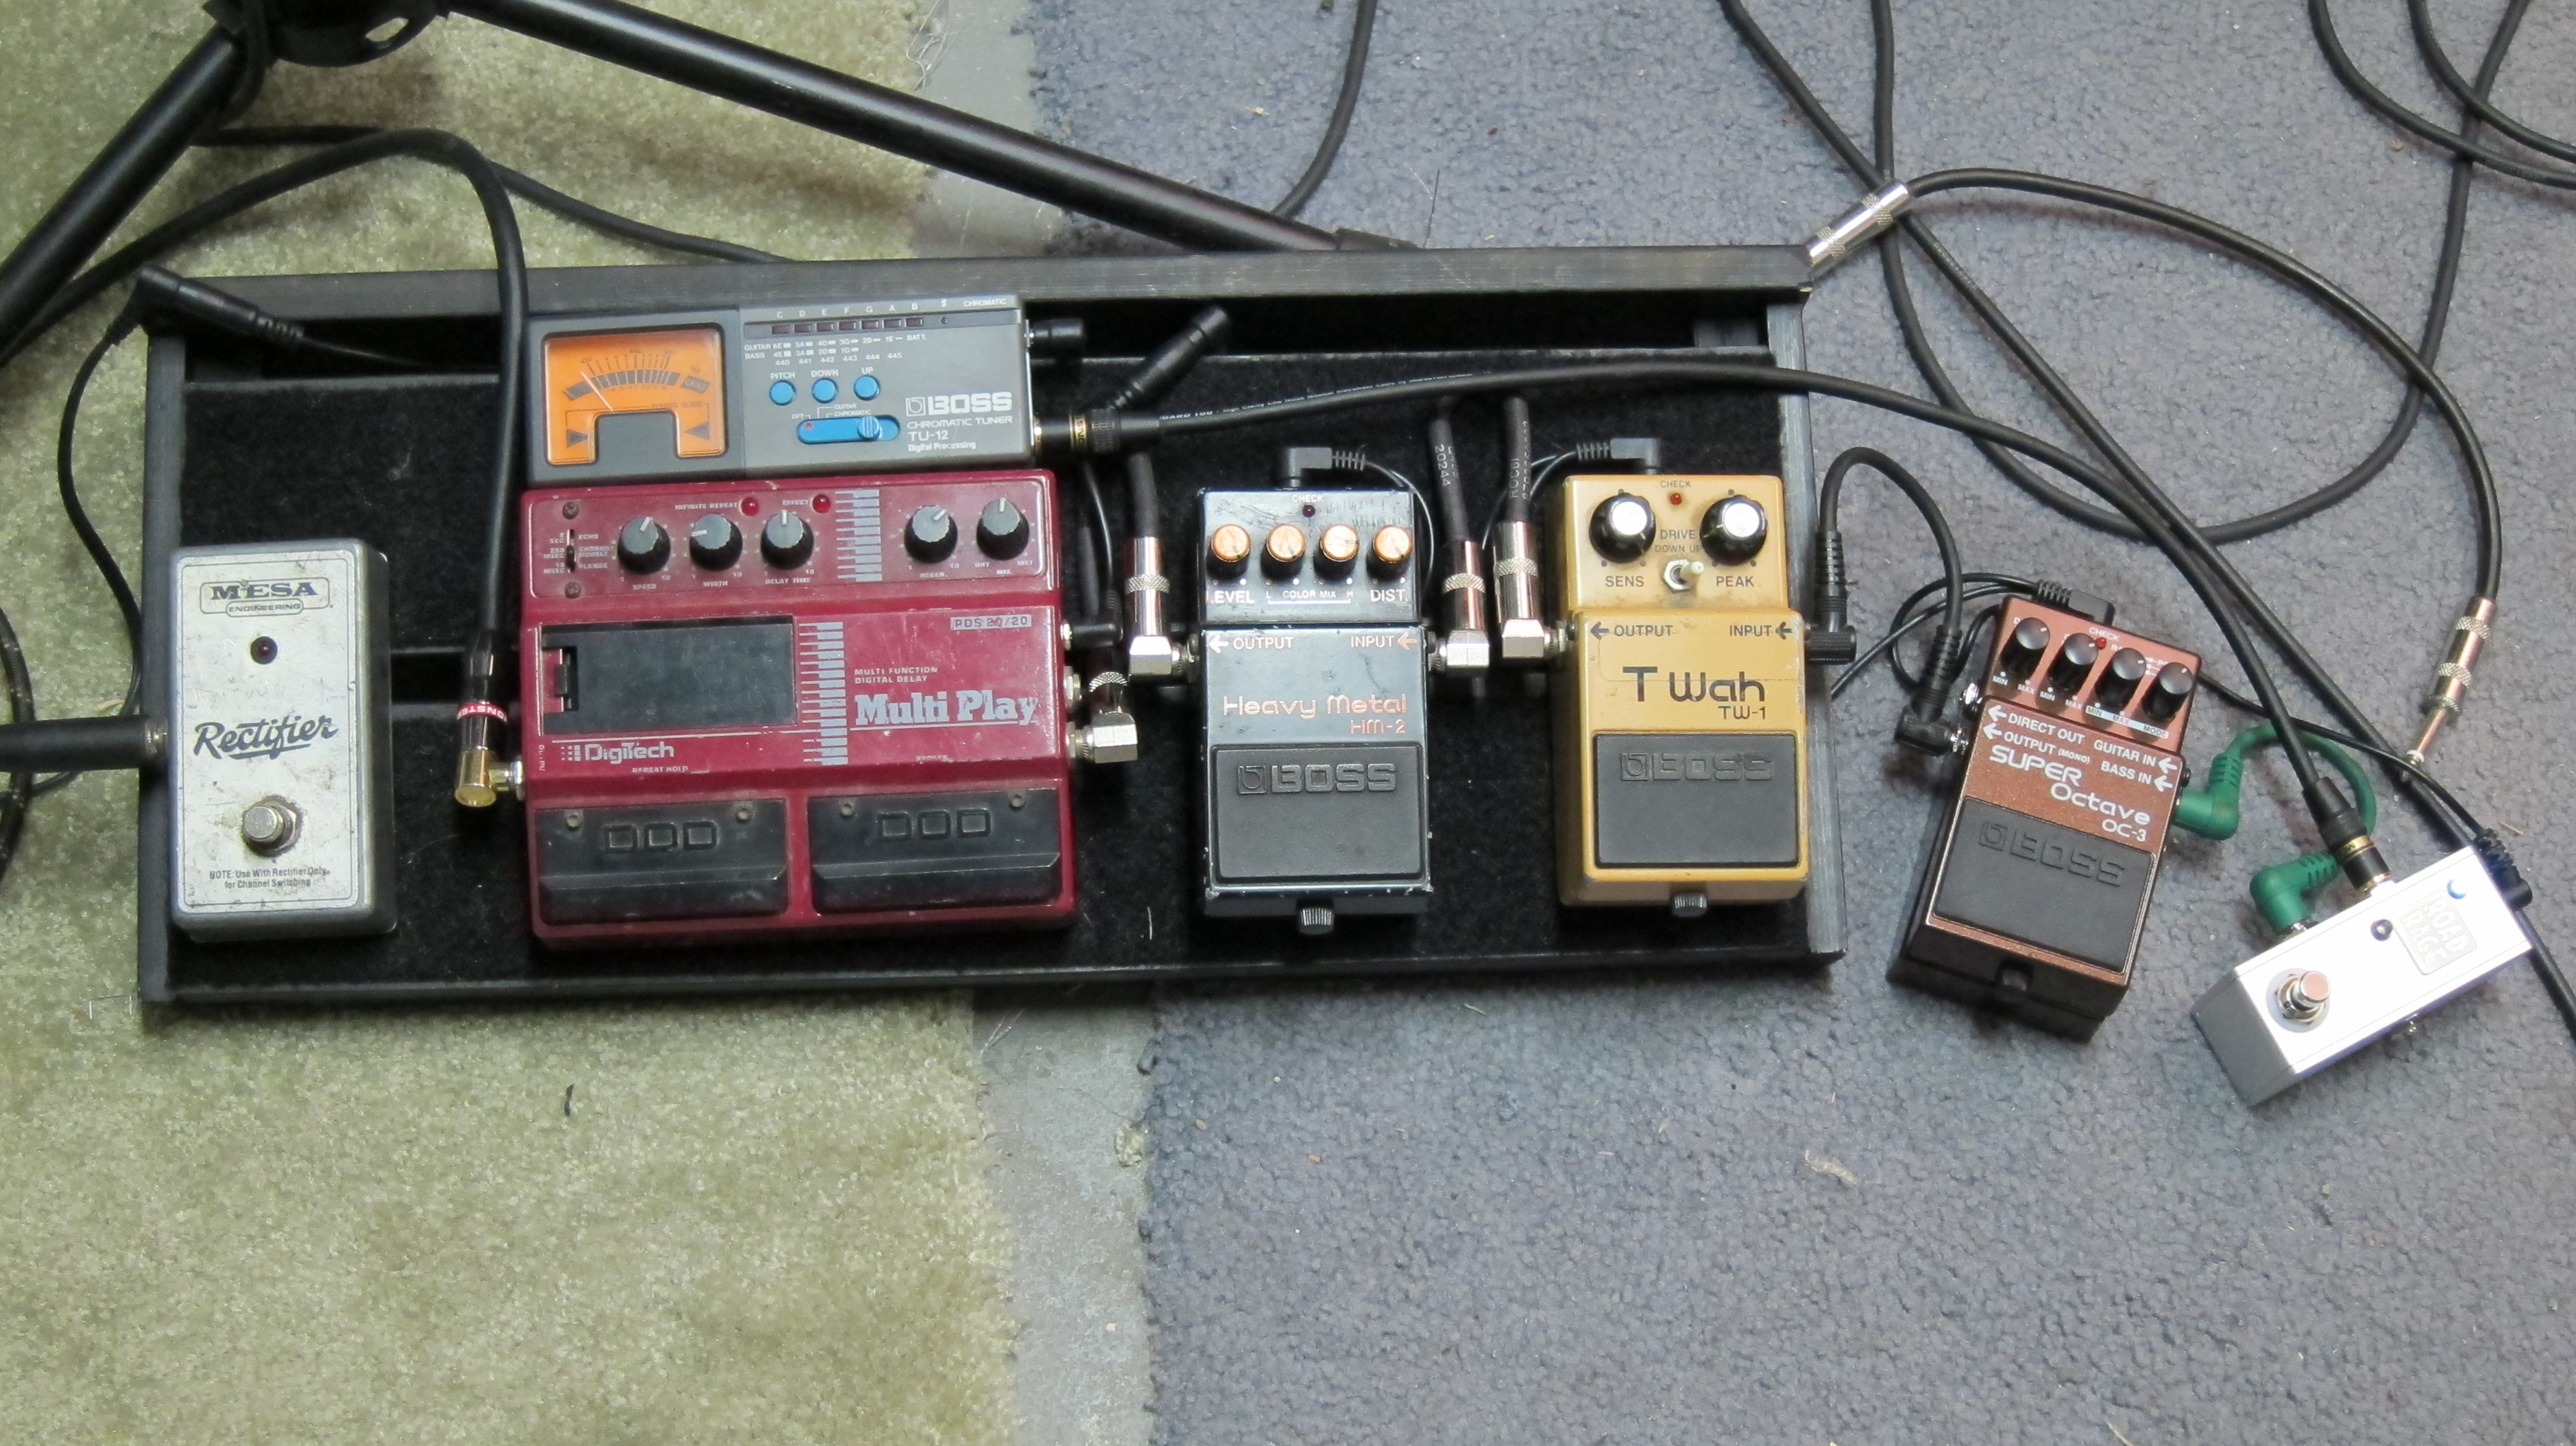
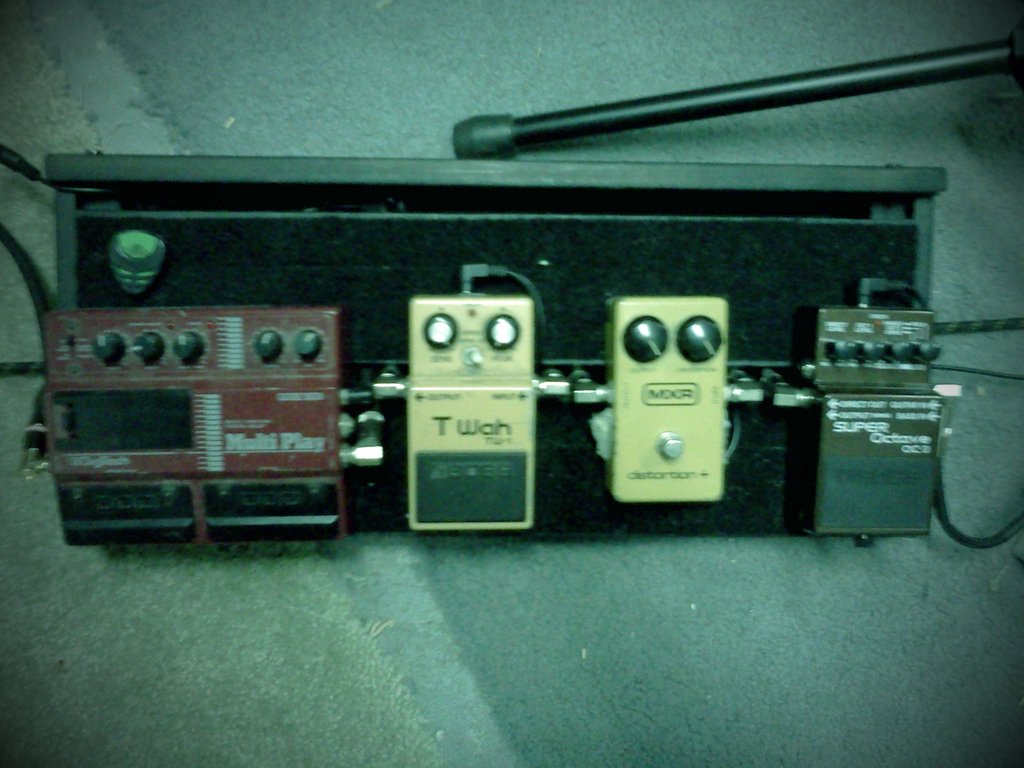
* EDIT
Here are a few pictures of varying qualities, with pedals.